Last updated October 31, 2026
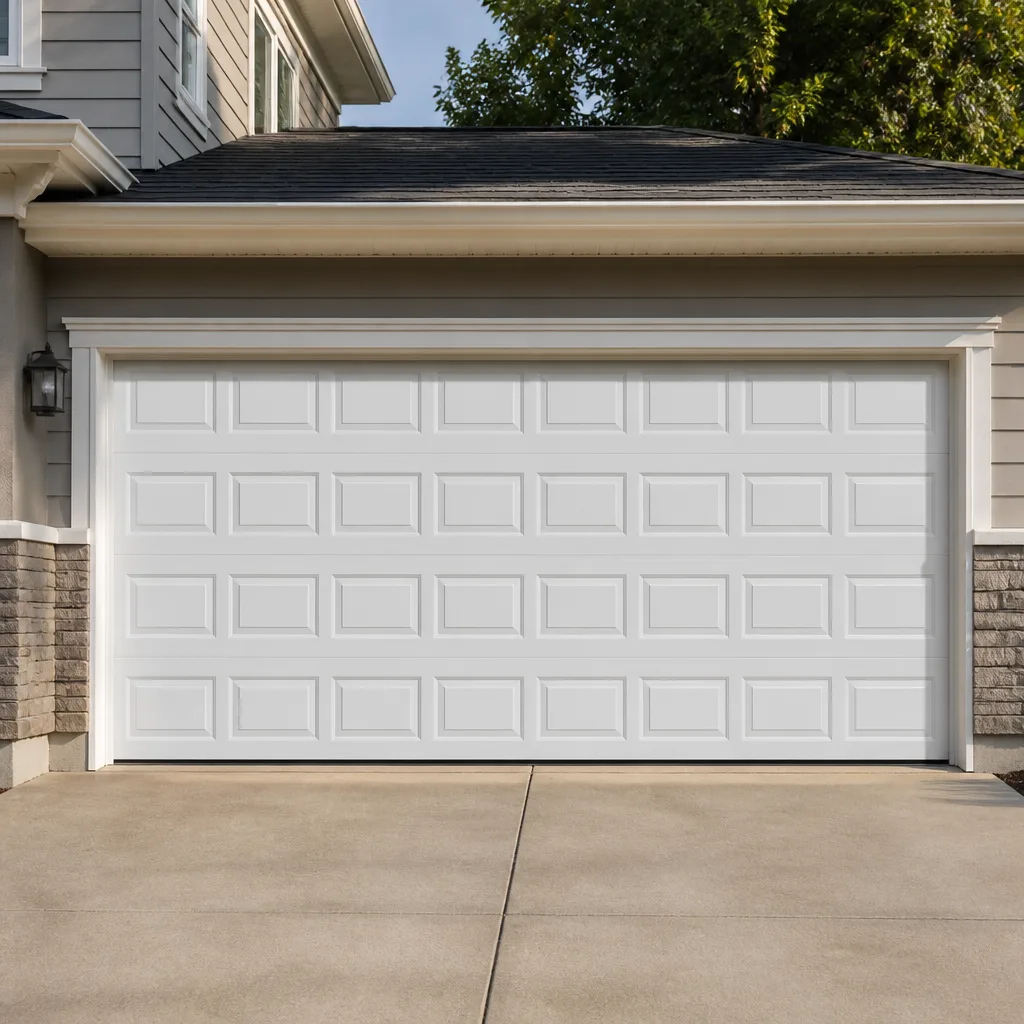 Raised-panel steel
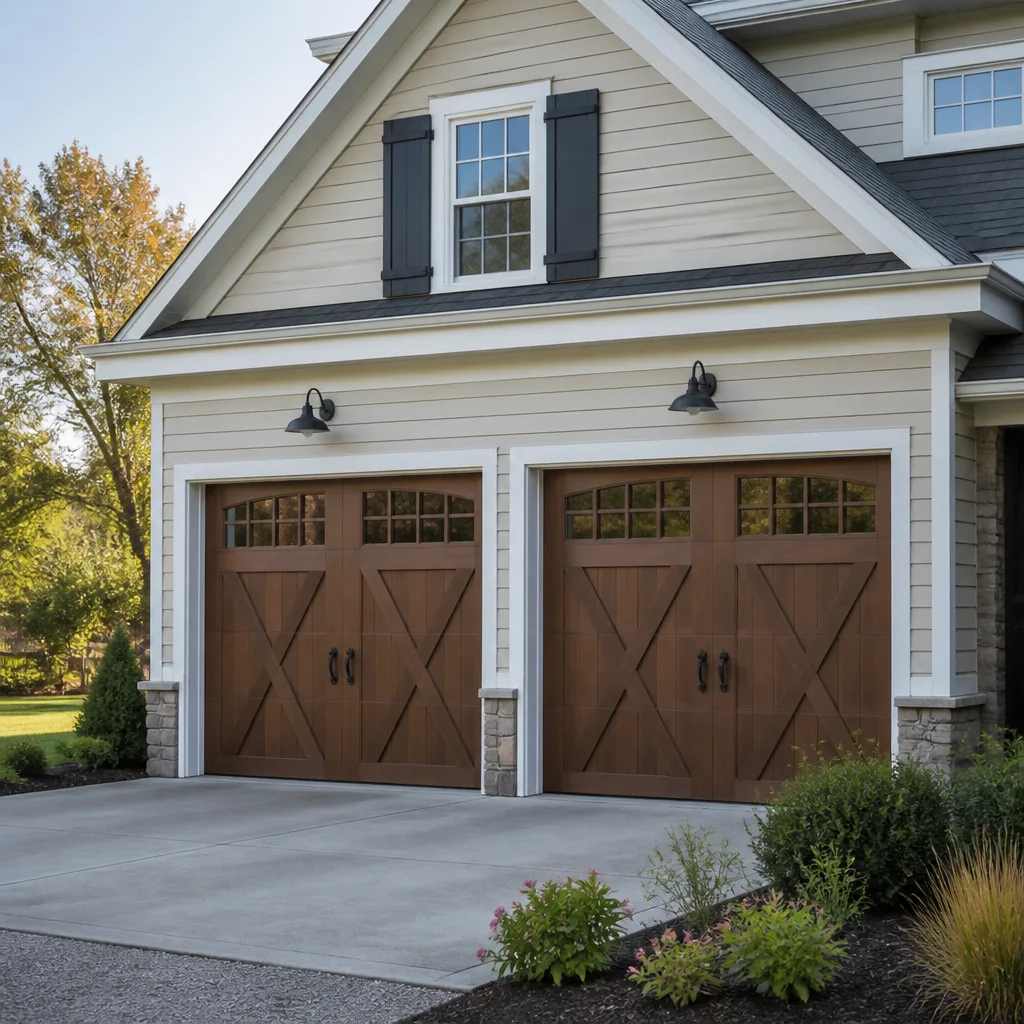 Carriage house
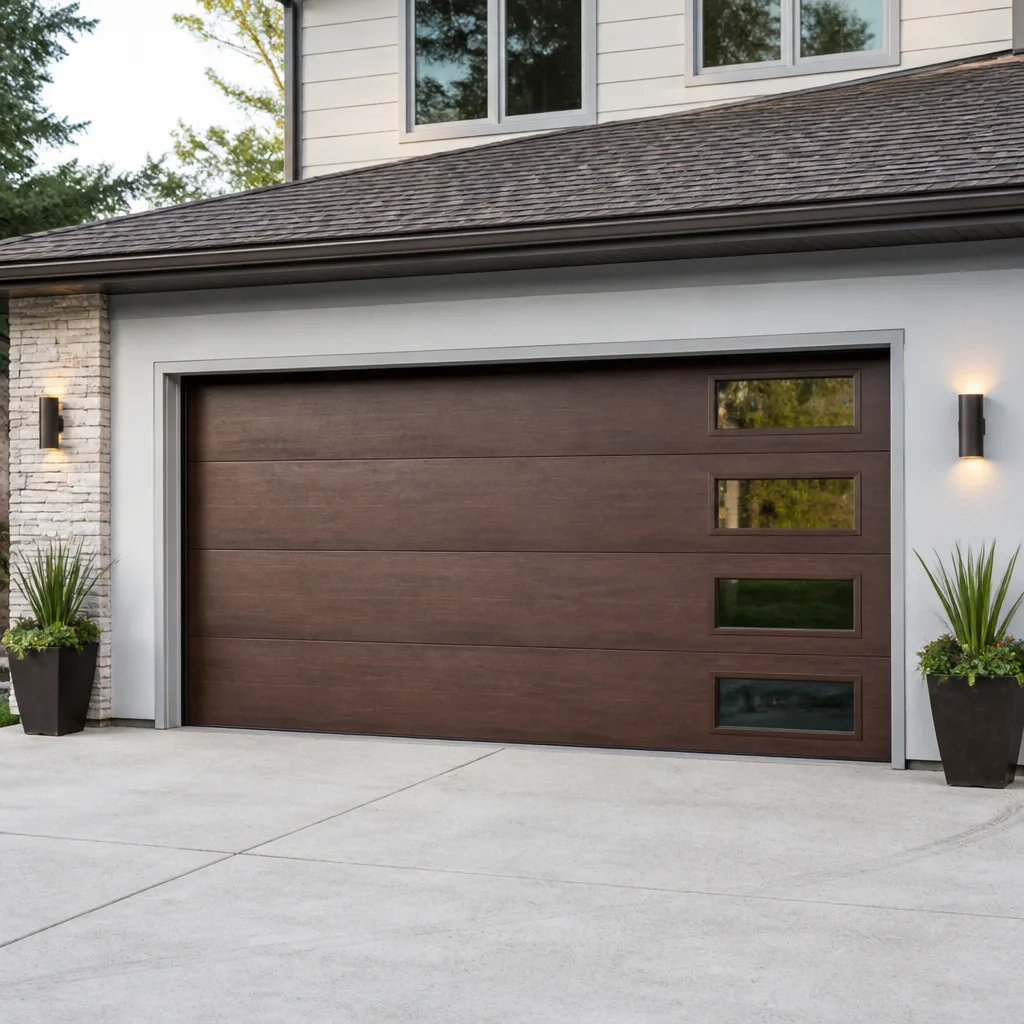 Modern flush
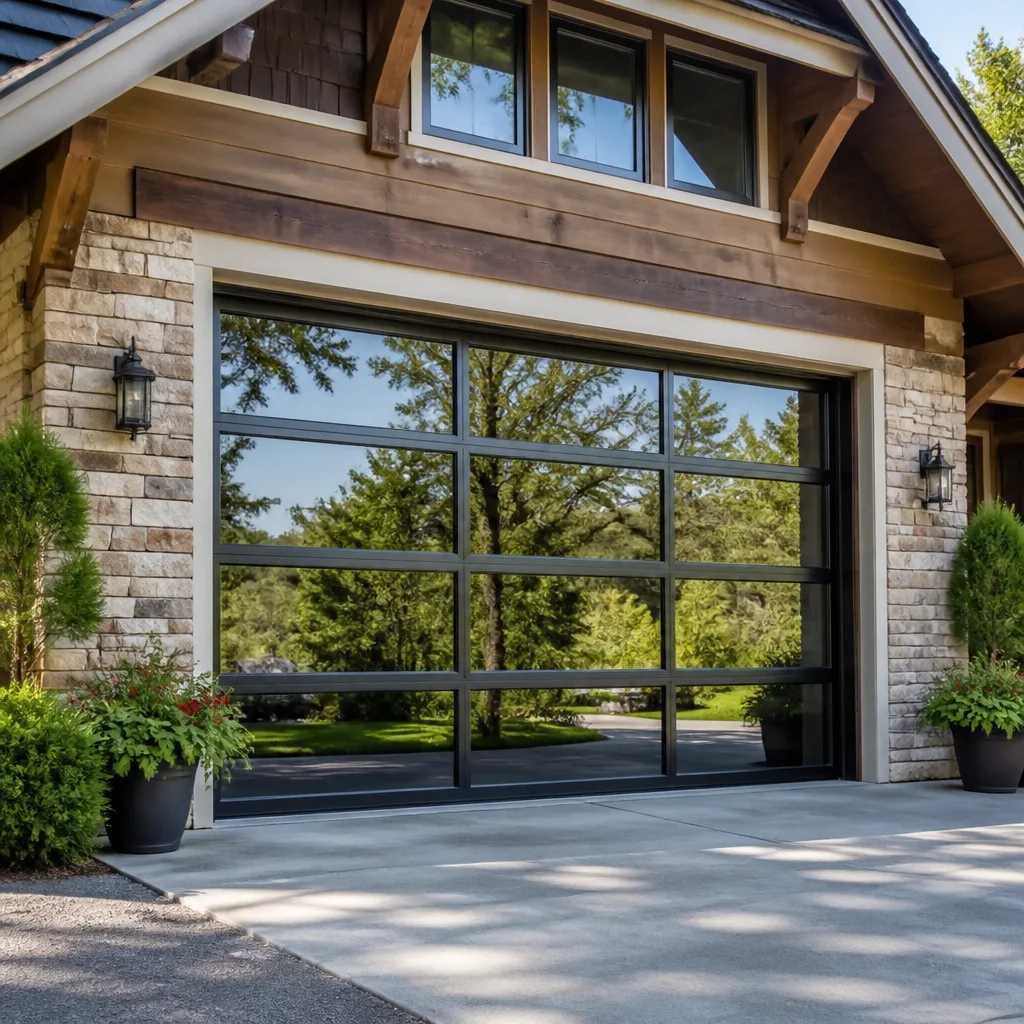 Full-view glass
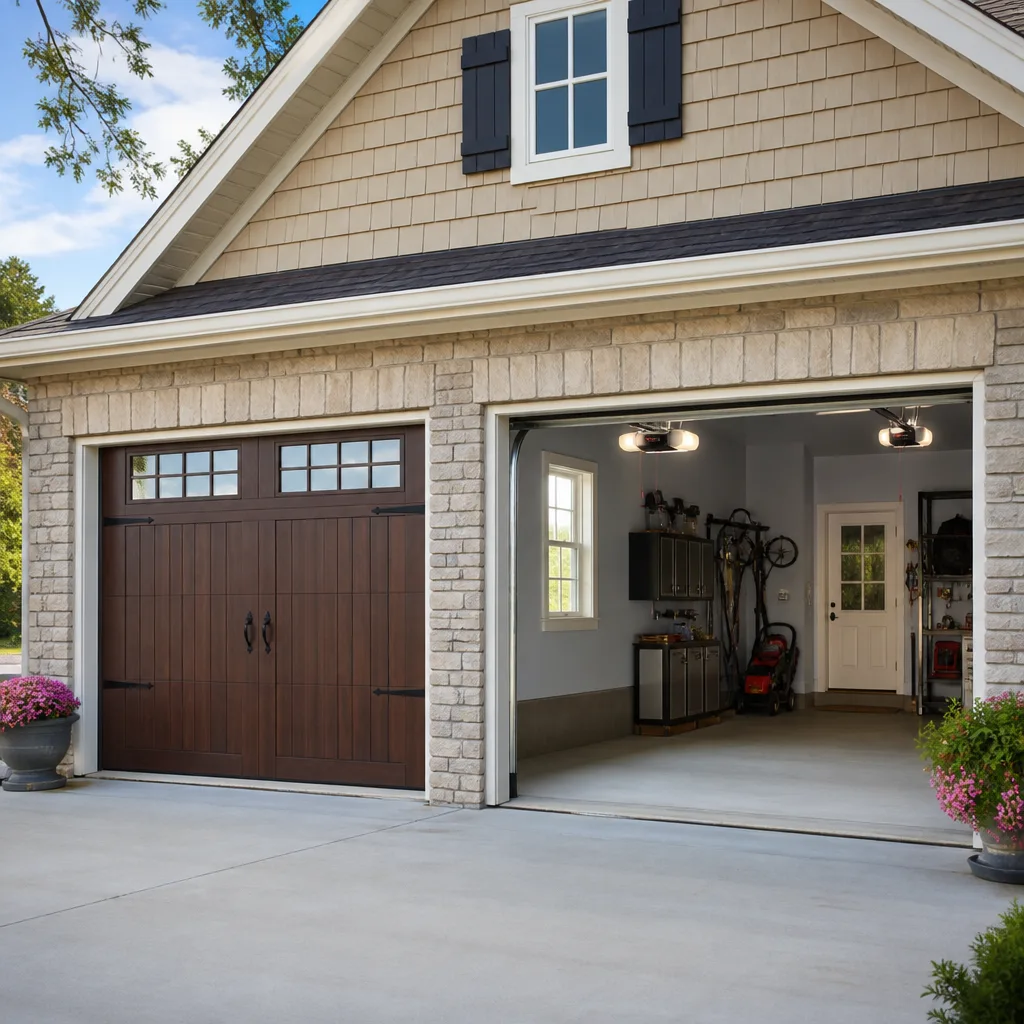 LiftMaster openers
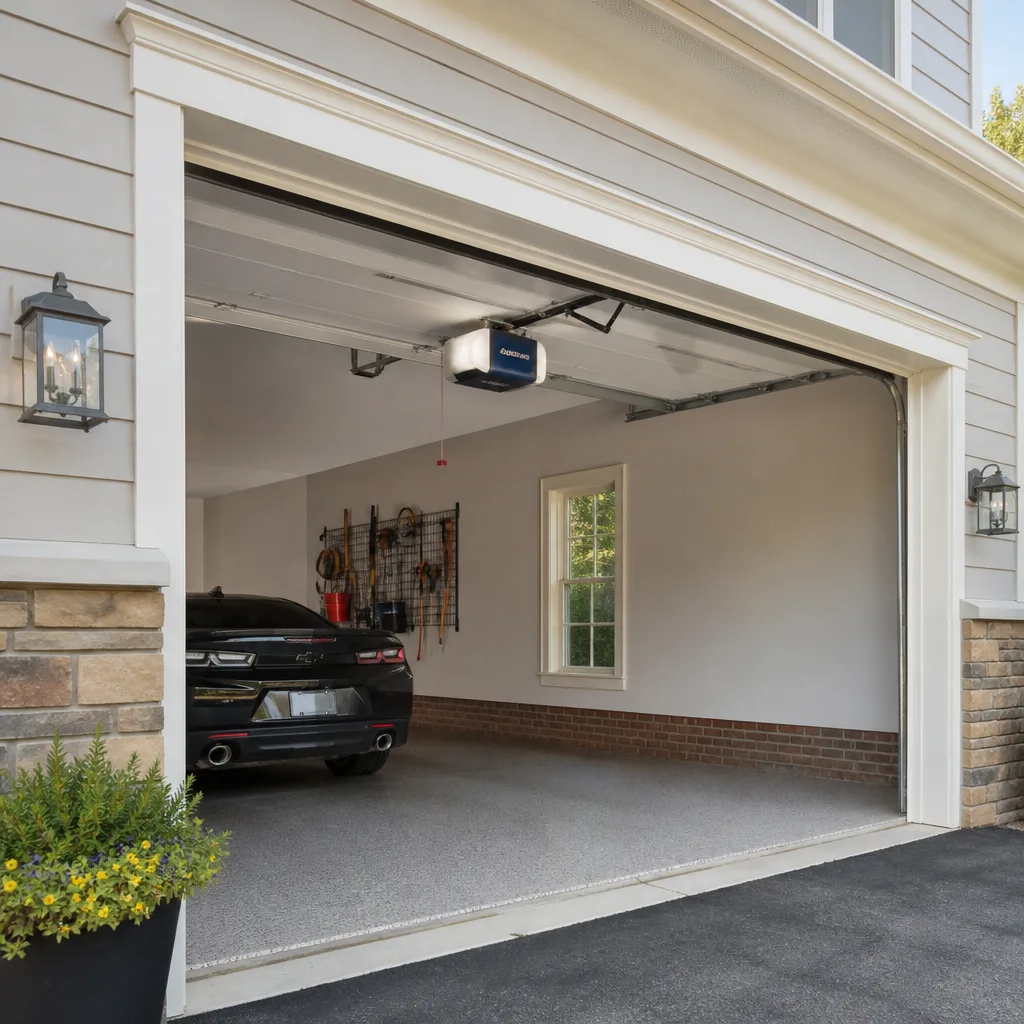 Chamberlain openers
Full 25-point door and opener safety check with every visit - springs, cables, rollers, tracks, and your LiftMaster or Chamberlain opener included
You get a price before we start. It does not change when the truck arrives.
Get your free estimateDIY vs Professional Garage Door: The Coral Gables Homeowner’s Decision Guide
Here’s a number most Coral Gables homeowners don’t expect: a standard torsion spring under full tension carries roughly the same stored kinetic energy as a .357 Magnum round. It’s wound to lift a 150 to 250 pound door every single day, and when it fails, it doesn’t simply stop working. It releases. That single fact explains why the DIY versus professional split in garage door work is less about skill and more about physics. In this guide, we’ll walk you through exactly which garage door tasks a Coral Gables homeowner can safely and legally handle, which ones Florida building code reserves for licensed contractors, and where the line between routine maintenance and dangerous repair actually sits. By the end, you’ll know precisely what to grab a wrench for and what to leave to someone who does this every day.
Styles & brands we work with
Quick Answer
You can safely DIY most garage door maintenance: sensor alignment, roller lubrication, weatherstrip replacement, and track cleaning. You cannot legally self-permit a hurricane-rated garage door replacement in Miami-Dade County, and you should never attempt torsion spring work, cable replacement, or opener logic-board repair yourself. The risk isn’t hypothetical: spring failures send roughly 20,000 Americans to emergency rooms annually. When the task carries stored-energy danger or a permit trigger, call a Coral Gables garage door specialist. For everything else, your own two hands are fine, and our Garage Door Emergency Preparedness Guide for Coral Gables Homes can help you plan ahead.
Table of Contents
- The Florida Rules: What the Law Actually Says About DIY Garage Door Work
- Torsion Springs: The Physics You Can’t Outsmart
- The Permit Trigger: When a “Simple Replacement” Becomes a Code Issue in Miami-Dade
- Safe DIY Tasks: What Every Coral Gables Homeowner Should Do Regularly
- The “I Watched a Video” Failure Pattern: Three Repairs That Backfire
- When DIY Maintenance Prevents Professional Repair
- Garage Door Opener DIY: What’s User-Serviceable and What Isn’t
- Common Mistakes to Avoid
- When to Call a Professional
- Frequently Asked Questions
- The Bottom Line
The Florida Rules: What the Law Actually Says About DIY Garage Door Work
Florida draws DIY lines around garage doors more sharply than most states, and the reason comes down to one word: hurricanes. Miami-Dade County operates under the strictest wind-load building codes in the continental United States, a direct legacy of Hurricane Andrew in 1992. Those codes don’t just govern new construction. They reach into your garage.
Here’s what a Coral Gables homeowner can legally do without any license, permit, or contractor involvement:
- Lubricate rollers, hinges, and springs with a silicone-based lubricant
- Align and clean photoelectric safety sensors
- Replace remote batteries and reprogram remotes
- Tighten visible hardware: bolts, brackets, and hinge screws
- Replace weatherstrip seals along the bottom edge and side jambs
- Adjust the opener’s travel limits (the settings that tell the motor where to stop)
- Replace the opener’s light bulbs
- Clear debris from tracks
Here’s what requires a licensed contractor in Miami-Dade:
- Any replacement door installation that changes the structural opening or wind-load rating of the home
- Hurricane-rated door replacement (essentially every modern replacement in Coral Gables, since code requires wind-rated products on all new and replacement openings)
- Reinforcement retrofits involving structural connections to the home
- Any work requiring a building permit from the City of Coral Gables Building Division
The legal basis sits in Chapter 8 of the Florida Building Code and Miami-Dade County’s High Velocity Hurricane Zone provisions. A homeowner can act as their own contractor for some projects in Florida, but not for structural work on a hurricane-rated opening. The permit for a garage door replacement in Coral Gables must be pulled by a licensed contractor, full stop. Attempting to self-permit a door replacement here gets denied at the counter.
The insurer angle matters just as much. Florida Statute 627.70132 allows insurers to deny wind-related claims when work was performed without required permits. If a hurricane tears off the DIY door you hung yourself, your carrier has a legitimate basis to reject the claim. That makes unpermitted door replacement not just illegal but financially catastrophic. For context on what professional replacement actually involves, see our Garage Door Installation in Miami page.
Torsion Springs: The Physics You Can’t Outsmart
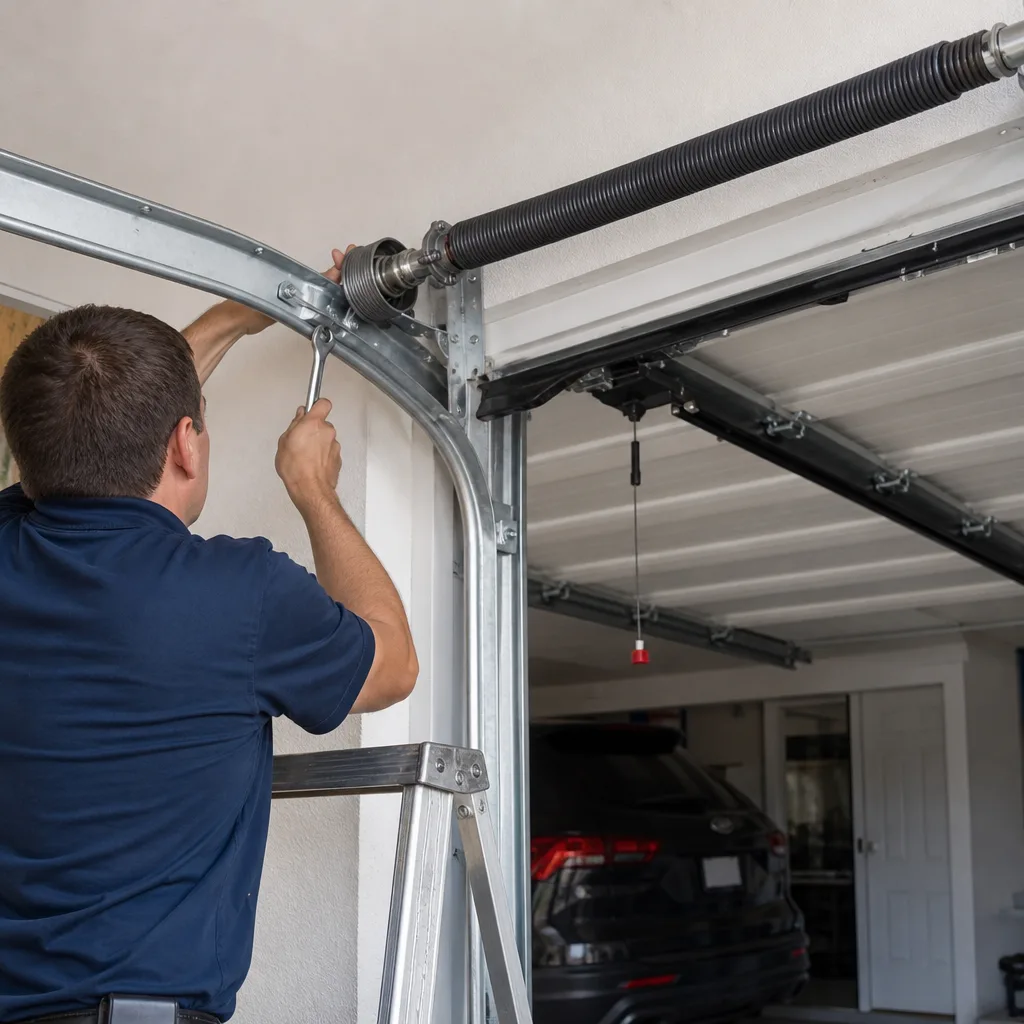
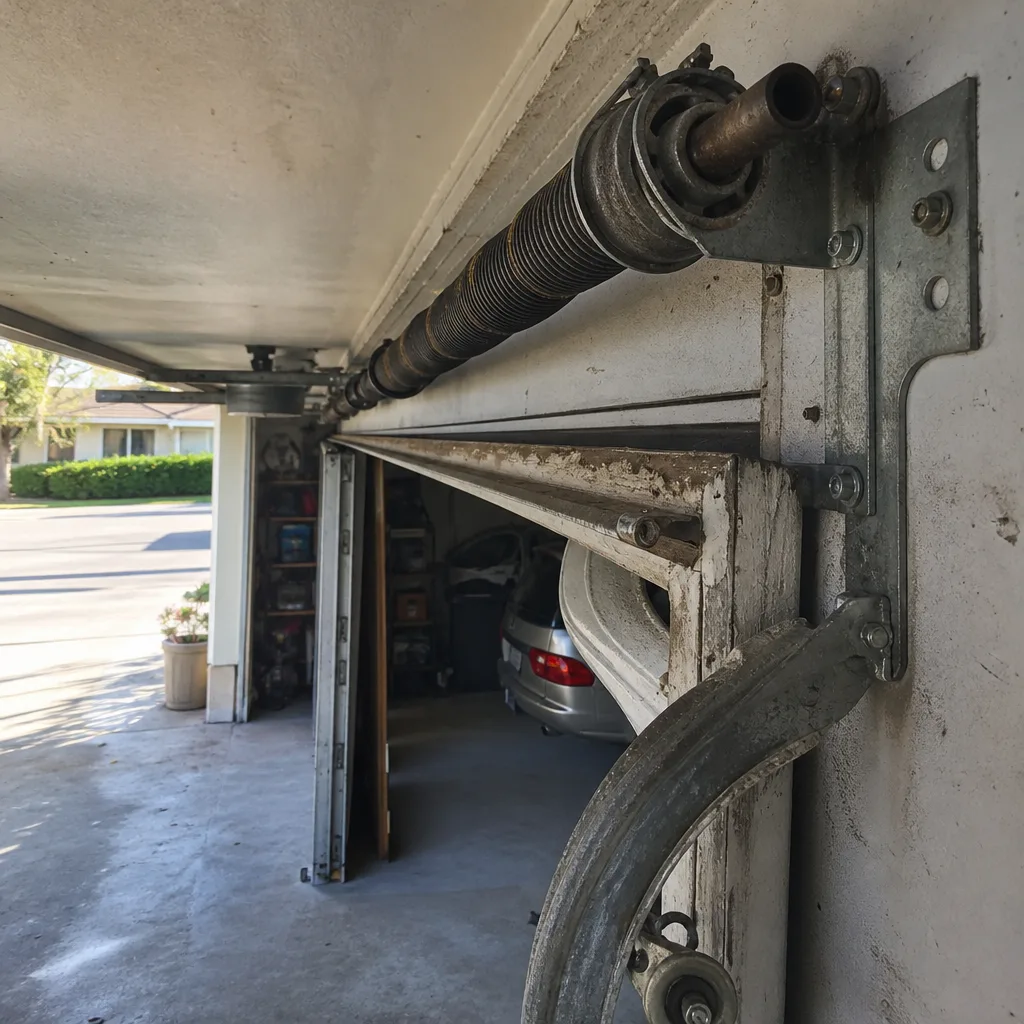
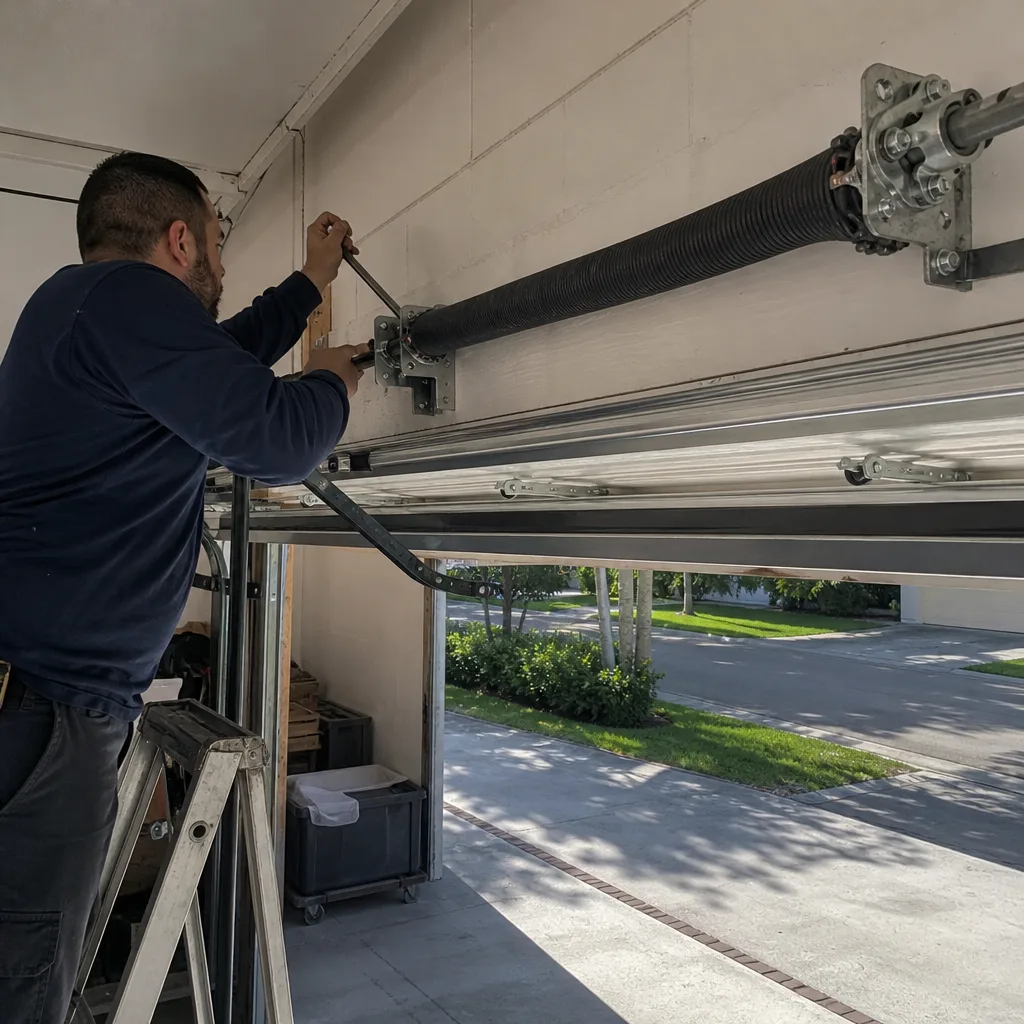
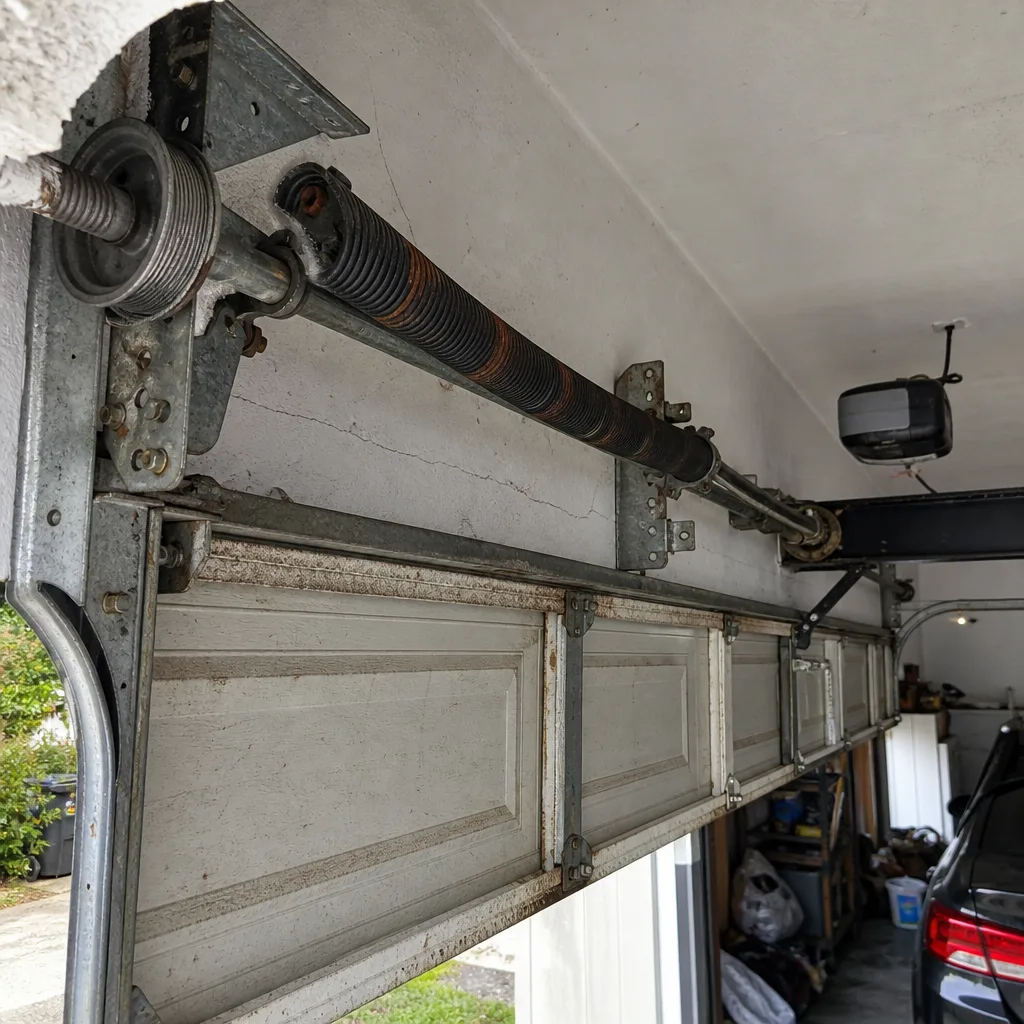
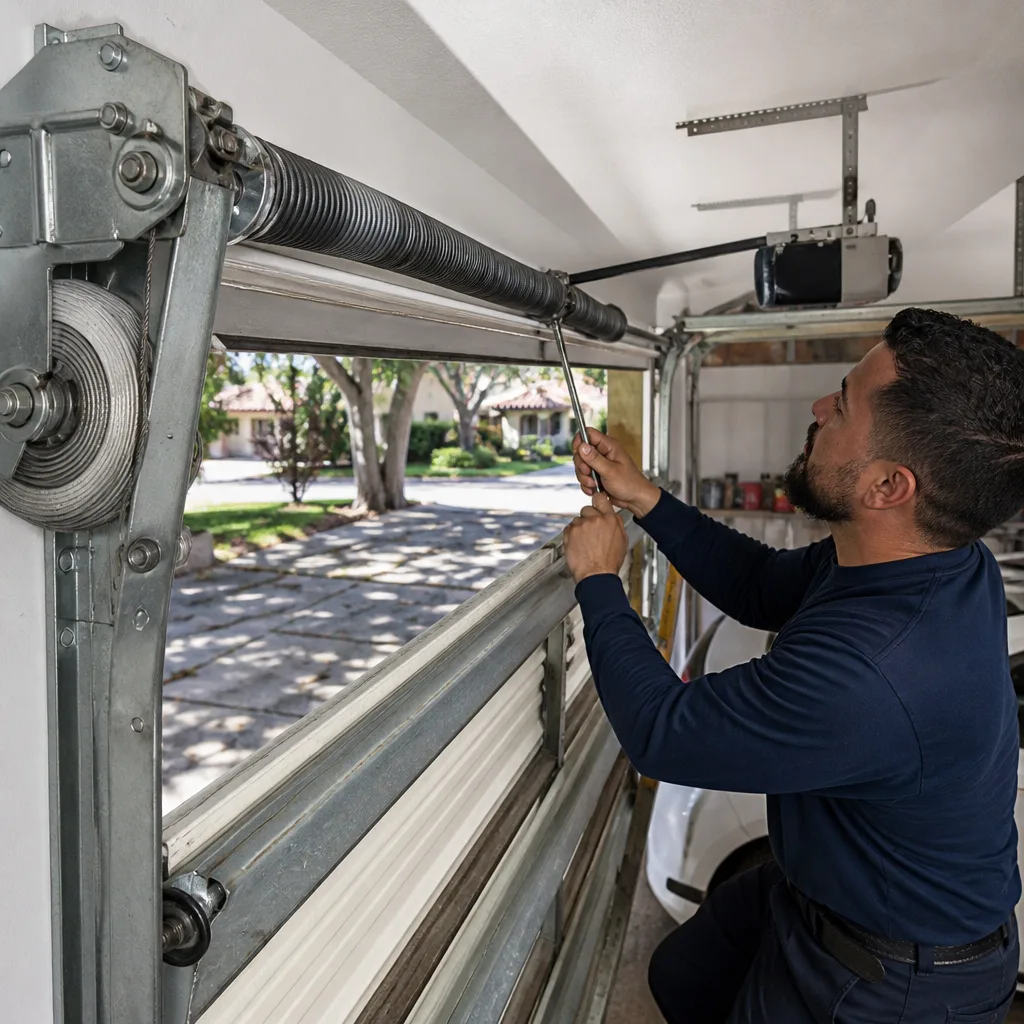
Torsion springs are the most dangerous component in any Coral Gables home that doesn’t run on natural gas. A typical residential torsion spring for a 16-foot-wide door is wound to 7.5 to 8.5 turns when installed. Each turn stores force. Multiply that force across two springs and you’re holding back hundreds of pounds of lifting energy under steel tension. When that spring breaks during a DIY repair attempt, it releases that energy through the winding bars, not gradually.
In our experience across Coral Gables service calls, the scenario usually looks like this: the homeowner watches a video, buys a pair of $12 winding bars at a hardware store, and starts unwinding the old spring without realizing it was never fully released from tension, or that the set screws are stripped, or that the spring is a left-wind unit and they’re turning the wrong direction. The bar kicks. That’s the injury.
Emergency department data consistently shows garage door springs among the top causes of home-mechanism injuries. The injuries aren’t minor: broken forearms, fractured facial bones, detached fingers, and in the worst cases, blunt force trauma to the head. The congressional Consumer Product Safety Commission has tracked these injuries for decades, and the pattern hasn’t changed meaningfully even as YouTube instructionals proliferated.
Why is this universally a professional task? Because the risk pool isn’t experience-limited. Even technicians with decades in the trade treat every spring under tension as if it were loaded. The tools matter, but the respect for stored energy matters more. We use hardened winding bars of the correct diameter for the cone size, never screwdrivers or pipe sections that flex under load. We check the set screws’ condition before engaging. We mark the drum position. We count the turns.
If your spring snapped and you’re weighing your options, search Garage Door Repair in Miami for a deeper explanation of what replacement involves, including the matching of spring weight capacity to your specific door. But understand this clearly: torsion spring replacement is the one garage door task where the YouTube confidence curve is inverted. The more convinced you are after watching the video, the more likely you are to improvise past the instruction’s fine print and get hurt.
The Permit Trigger: When a “Simple Replacement” Becomes a Code Issue in Miami-Dade
Here’s the scenario we hear weekly from Coral Gables homeowners: “It’s just a door swap. The old one came out, the new one goes in. Why does the county care?”
Miami-Dade cares because in a High Velocity Hurricane Zone, your garage door is part of the building envelope. It’s not a decorative accessory. It’s a wind-rated structural component. Under the Florida Building Code, replacing that door is considered a structural modification, not a cosmetic one. The permit requirement isn’t bureaucratic pettiness. It’s the county’s way of verifying that whatever goes into the opening meets the wind-load requirements that protect your family and your neighbors’ homes during a storm.
Specific trigger points in Coral Gables:
- Any full replacement door installation: New door, new tracks, new hardware. This requires a building permit, and in Miami-Dade County, that permit can only be pulled by a licensed contractor, not by the homeowner acting as their own contractor.
- Hurricane retrofits: Adding reinforced struts, bracing posts, or upgrading to a Florida Building Code-compliant wind-rated door changes the structural performance of the opening. Permit required, contractor required.
- Changing the opening dimensions: Widening, heightening, or relocating a garage opening is structural work. Full permit, full engineering review.
- Replacing a door with a different weight or balance profile: If you go from a steel door to a heavier wood door, the spring system, tracks, and opener must be re-evaluated. This falls under the licensed technician’s scope, not the homeowner’s.
What does NOT trigger a permit? Replacing a single panel. Replacing rollers. Swapping out an opener motor. Replacing weatherstrip. These are maintenance actions, not structural changes. The county doesn’t care if you change your springs either from a permit perspective, although the physics still argue against doing it yourself.
The insurance implication is the part most DIY guides gloss over. Under Florida law, work performed without a required permit can void coverage for damage related to that work. If your unpermitted door fails during Hurricane Iwa and water breaches the garage ceiling, your denial letter will cite the unpermitted installation. That’s not a hypothetical. That’s a documented pattern in Florida insurance litigation. Coral Gables homeowners pay some of the highest insurance premiums in the state. Protecting that policy with compliant, permitted work isn’t optional diligence. It’s financial self-defense. For a clearer picture of what professional work costs, read our Garage Door Cost Breakdown: The Coral Gables Homeowner’s Reference for 2026.
Safe DIY Tasks: What Every Coral Gables Homeowner Should Do Regularly
None of this should leave you thinking you can’t touch your garage door. In fact, the opposite: there’s a meaningful set of routine tasks that are genuinely DIY-friendly and materially extend the life of your system. The key is knowing where the boundary sits.
Here’s your Coral Gables homeowner’s safe-task list, with the frequency that makes each one effective:
- Lubricate moving parts (every 4 to 6 months): Use a silicone-based or lithium-based spray on rollers, hinges, and springs. Avoid WD-40 for this job; it’s a degreaser first and a lubricant second, and it strips the protective film that keeps coastal salt air from corroding your hardware. Coral Gables’ proximity to Biscayne Bay means salt corrosion is a real factor for garage components, especially any exposed steel.
- Align the photoelectric sensors (as needed): If your door reverses when nothing is in the way, the sensors near the floor have drifted out of alignment. Loosen the wing nut, line up the beams until the indicator lights hold steady, and retighten. This is a five-minute fix that eliminates the most common opener behavior complaint.
- Replace the bottom weatherstrip (every 2 to 3 years): The rubber or vinyl seal along the bottom edge hardens, cracks, and splits under Florida sun exposure. When it fails, you get water intrusion during heavy afternoon thunderstorms, leaf litter, and heat loss. A replacement seal costs about $20 and slides into the retainer channel with no special tools.
- Check the balance (every 6 months): Disconnect the opener by pulling the release cord, then lift the door by hand. A properly balanced door stays in place at knee height without rising or falling. If it drops, your springs are weakening and need professional evaluation. This test takes 30 seconds and it’s the single best early-warning system you have.
- Clean the tracks (as needed): Wipe out accumulated dirt, spider webs, and salt residue from the vertical tracks. Don’t bend them back into shape if they’re damaged; cleaning is fine, reshaping is not.
- Tighten hardware (every 6 months): The door moves hundreds of times per month, and vibration loosens bolts over time. Go around the track brackets, hinges, and opener mounts with a socket set and check for anything wiggling.
These tasks share a common thread: none of them involve stored energy, structural modification, or electrical work. You’re not unwinding anything. You’re not disconnecting cables under tension. You’re not touching the circuit board. You’re maintaining a machine, not modifying it.
The “I Watched a Video” Failure Pattern: Three Repairs That Backfire
We’ve arrived at thousands of Coral Gables garage doors over the years, and the pattern is consistent. The homeowner watches a YouTube tutorial, attempts the repair, hits a snag the video didn’t cover, and calls us anyway. Only now the fix costs more than it would have originally, because we’re correcting the attempt before we’re solving the original problem.
Here are the three DIY garage door repairs most likely to produce a more expensive professional call-back in Coral Gables:
1. Spring replacement with the wrong components. The homeowner buys two springs online or at a supply store without measuring the old springs’ wire gauge, inside diameter, and length. They install springs rated for a lighter door, or they reuse old springs that are visibly fatigued. The door either won’t lift, lifts too fast, or sits uneven. We arrive and find the spring wrong for the application, which means removing the incorrect part before installing the right one. The original repair cost would have been a single spring replacement, but now it’s a spring replacement plus a removal. Our Garage Door Repair in Miami page explains what correct spring matching actually requires.
2. Opener force-limit misadjustment. The opener isn’t reversing properly, so the homeowner finds the force-adjustment dials on the motor and cranks them up, reasoning that more force means better door operation. Now the door closes with enough downward pressure to damage the panels or injure a person. More importantly, the safety-reversal mechanism that exists to protect children and pets gets overridden. Correcting this means recalibrating the opener’s force settings and checking the safety reversal with an actual obstruction test. The fix is usually operator education, not mechanical repair, but the door can be damaged by the time we’re called.
3. Cable replacement while the spring is still under tension. A failing lift cable looks deceptively accessible. It’s not. The cable runs through a pulley system that’s directly connected to the torsion spring assembly. Removing the cable without releasing the spring tension first means the cable drum spins under load the instant the cable is freed. That drum is a metal wheel spinning with the force of a loaded spring behind it. We’ve seen fingers, hands, and forearms clipped by these drums. The cable needs replacing, but the spring must be unwound first, which puts you back in the torsion spring danger zone.
What these three failures share is a video that showed the successful outcome without showing the preparatory diagnostics that a trained technician does reflexively. The professional difference isn’t the act of turning the wrench. It’s the sequence of checks performed before the wrench comes out at all.
When DIY Maintenance Prevents Professional Repair
The most cost-effective DIY in garage door maintenance isn’t dramatic. It’s persistent. The homeowner who lubricates every four months, checks balance twice a year, and replaces weatherstrip when it cracks is doing something the homeowner who calls us only when the door stops moving isn’t: they’re extending the lifespan of the most expensive components in their system.
Here’s the math based on what we see in Coral Gables service records:
- Springs last 3 to 5 years longer with regular lubrication. Torsion springs are rated for 10,000 to 15,000 cycles, but that lifespan assumes friction stays low. When rollers and hinges run dry, the extra resistance taxes the springs beyond their rated load. Regular silicone lubrication keeps friction minimal and stretches that cycle count toward the upper range.
- Opener motors last 4 to 5 years longer with balance maintenance. An opener is a lifting assistant, not a lifting machine. When the door is properly balanced, the opener only supplies guidance, not power. When the door is unbalanced, the opener strains against a load it wasn’t designed to move, and the motor burns out early. A 30-second balance check twice a year prevents thousands of dollars in premature opener replacement.
- Rollers last 5+ years longer when tracks are kept clean and hardware stays tight. Loose brackets create wobble. Wobble creates uneven roller wear. Uneven roller wear creates drag. Drag taxes everything else in the system.
For opener-specific maintenance and repair guidance, see our dedicated Garage Door Opener Repair in Miami page. The short version: treat your opener like you treat your car’s transmission. It needs regular checkups, not just emergency intervention.
Garage Door Opener DIY: What’s User-Serviceable and What Isn’t
Opener repair produces more confident but misguided DIY attempts than any other garage job except springs. The opener looks approachable. It’s a motor with some wires and a rail. How complex could it be? The answer depends on which layer of the system is failing.
Here’s what’s genuinely user-serviceable on a garage door opener:
- Remote programming and reprogramming: Every major brand (LiftMaster, Chamberlain, Genie, Craftsman) uses a learn button or a menu-driven pairing sequence. The owner’s manual lists the steps. You can do this in five minutes.
- Battery replacement in remotes and the wall console: Standard coin or AA batteries, depending on the model.
- Safety sensor cleaning and alignment: Dirt, grass clippings, and dust obscure the lens. Cleaning both sensors and re-aiming them fixes most reversing problems.
- Opener limit adjustment: The travel settings that control how far the door moves up and down are accessible via the opener’s adjustment screws or digital menu. This is safe to adjust when the door is working but stopping at the wrong point.
- Routine lubrication of the rail: A light lithium grease application on the rail helps a chain or screw drive run smoothly.
Here’s what isn’t user-serviceable:
- Logic board replacement: The circuit board inside the motor head. Modern openers, including LiftMaster’s MyQ-equipped models and Chamberlain’s Wi-Fi units, include residential-grade logic boards with surface-mount components that aren’t field-replaceable. When the board fails, the unit typically needs replacement, not board surgery.
- Gear and sprocket replacement inside the motor housing: These metal and plastic gears wear down over time and require partial disassembly of the motor head. It’s a solvable repair with the right parts and a parts diagram, but it’s where most DIY attempts go sideways because reassembling the motor without losing spring clips or aligning gears properly is harder than the video makes it look.
- Capacitor replacement: The capacitor stores electrical charge even after the unit is unplugged. Touching the wrong terminal delivers a shock. This one is best left to someone who deals with charged components regularly.
- Drive system conversion: Switching from a chain drive to a belt drive isn’t an opener swap. It typically requires new brackets, a different rail profile, and re-balancing plus re-tuning the entire system.
One thing worth understanding: a Genie opener and a LiftMaster opener use different travel adjustment methods, different remotes, and different safety sensor protocols. They’re not interchangeable. The reason a multi-brand specialist exists is that this stuff isn’t universal. Knowing what you’re looking at matters.
Common Mistakes to Avoid
- Using the wrong lubricant on springs and rollers. WD-40 is a solvent with lubricating properties, not a replacement for silicone or lithium grease. In Coral Gables’ salt air, stripping the protective coating off your hardware accelerates corrosion.
- Adjusting opener force settings to “fix” a reversing problem. A door that reverses on the way down is doing its job. The cause is usually sensor alignment or obstruction detection, not insufficient closing force. Crank up the force and you’ve created a crushing hazard.
- Replacing one spring instead of both. Torsion springs wear at roughly the same rate. When one breaks, the other is at the end of its lifespan too. Replacing only the broken one means paying for another visit in months, and new/old spring mismatches create balance problems.
- Attempting a door replacement without understanding the Miami-Dade permit requirement. The door you bought at the home-supply store may not meet Florida Building Code wind-load requirements. Even if it does, installing it without a permit creates the insurance vulnerability described earlier.
- Ignoring a door that’s slightly off-balance. “It still opens, so it’s fine.” An unbalanced door is slowly destroying the opener motor and wearing the springs asymmetrically. The 30-second balance test catches this early when it’s a cheap fix.
- Using a random winding bar from the garage. A screwdriver, a pipe, or any bar that isn’t hardened steel of the correct diameter for the spring cone can slip, bend, or shear under torque. This is how most spring-related injuries happen.
- Leaving a broken spring cable dangling while continuing to use the door. A broken cable means the door is running unbalanced and the remaining cable takes double the load. Continuing to use the door accelerates damage and creates a safety hazard for anyone under the opening.
When to Call a Professional
Call when the job involves stored mechanical energy in the spring system. Call when the repair requires opening the motor housing or handling charged components. Call when the work triggers a permit requirement under Miami-Dade code. Call when you’ve diagnosed the problem but don’t have the specialized tools or brand-specific parts to fix it correctly. Call when the door is off its tracks, the cables are frayed, or the balance test fails. And call when your insurer’s wind-mitigation requirements depend on professional installation documentation. Coral Gables Garage Door Service offers free estimates in Coral Gables. Call (855) 752-9022 and we’ll come look before you decide anything.
For a full picture of what we handle, start at the Coral Gables Garage Door Service home page.
Frequently Asked Questions
You can physically attempt it and shouldn’t. Torsion springs hold hundreds of pounds of stored energy under winding tension, and the release of that tension during a failed DIY attempt causes injuries ranging from broken bones to permanent hand damage. There’s no licensing requirement that prevents you from buying springs, but the physics don’t care about your confidence level. This is the single most dangerous repair in a residential home.
Yes. Miami-Dade County requires a building permit for garage door replacements, and that permit must be pulled by a licensed contractor, not the homeowner. The City of Coral Gables enforces this through its Building Division. Installing a replacement door without a permit leaves you exposed to insurance claim denial if the door fails during a hurricane.
Lubricate rollers, hinges, and springs with silicone spray. Clean and align the photoelectric sensors. Replace remote batteries and reprogram remotes. Replace the bottom weatherstrip. Tighten loose hardware. Check the door balance using the manual release method. These are all safe, effective, and don’t require specialized tools.
Spring replacement in Coral Gables typically runs $180 to $340 depending on door size, spring type, and whether you’re replacing one spring or both. We recommend replacing both at the same time even if only one failed, because the other is at the end of its life. Call (855) 752-9022 for an exact quote.
Yes, installing a new opener is a moderately complex DIY project that many homeowners complete without issues. The opener motor mounts to the ceiling, the rail extends to the door, and the electrical connection is a standard outlet. The tricky part is aligning the rail with the door and setting the force and travel limits correctly, but a patient homeowner with the manufacturer’s manual can manage it.
Every four to six months is the right interval in Coral Gables, and the coastal salt air means consistency matters more than it does inland. Regular lubrication prevents the corrosion that seizes hinges and accelerates spring wear, and it’s the single cheapest thing you can do to extend the life of your entire system.
The Bottom Line
The DIY versus professional garage door decision in Coral Gables isn’t a blanket rule. It’s a set of boundaries that follow physics and code. Lubricate freely. Test balance regularly. Replace weatherstrip when it cracks. Stay away from torsion springs, load-bearing cables, opener internals, and any replacement that triggers the Miami-Dade permit requirement. The smart homeowner isn’t the one who does everything or hires for everything. It’s the one who knows exactly where the line sits and acts accordingly. When you need a professional, we’re here. Call (855) 752-9022 for a free estimate on any repair, opener issue, or installation in Coral Gables, or browse more guides & resources on keeping your door safe and compliant.
Written by the team at Coral Gables Garage Door Service, serving Coral Gables since 2014.
See the difference
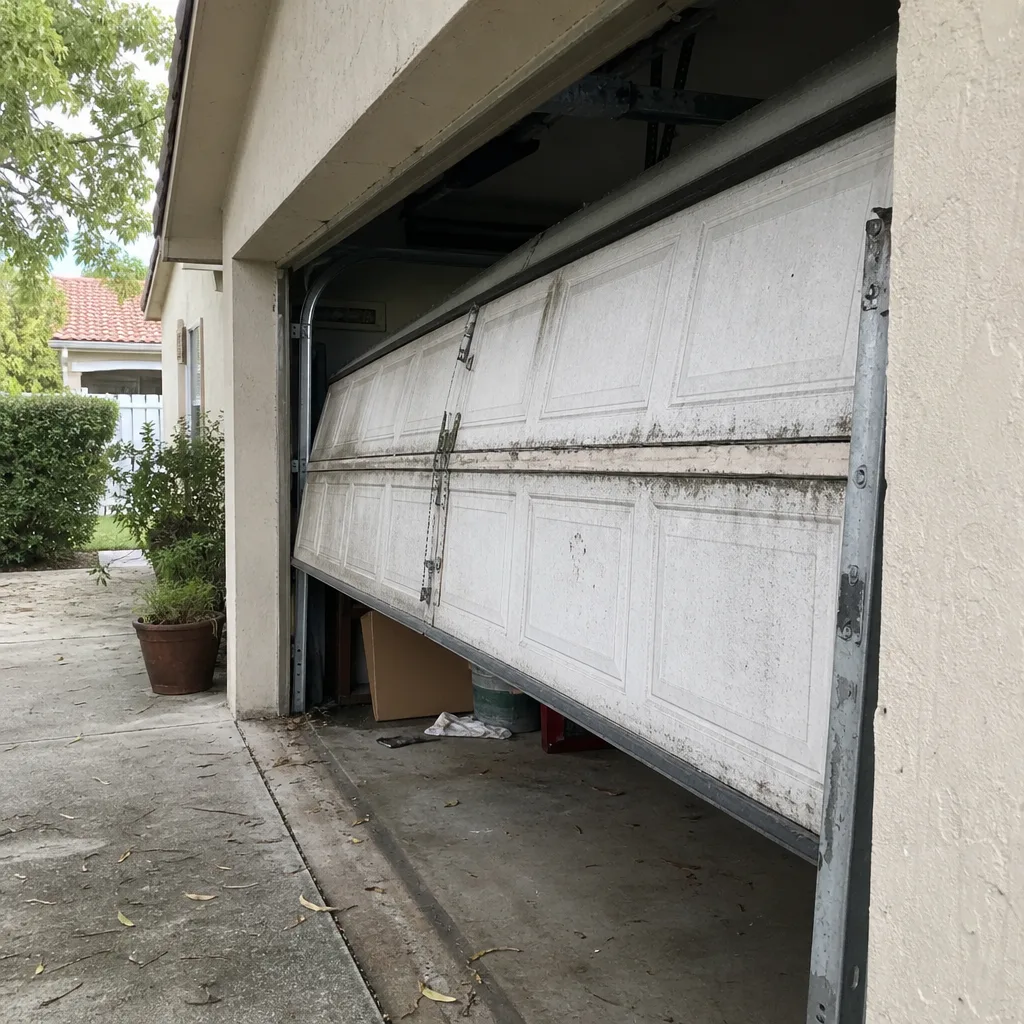 Before
 After
 Before
 After
 Before
 After