Last updated October 31, 2026
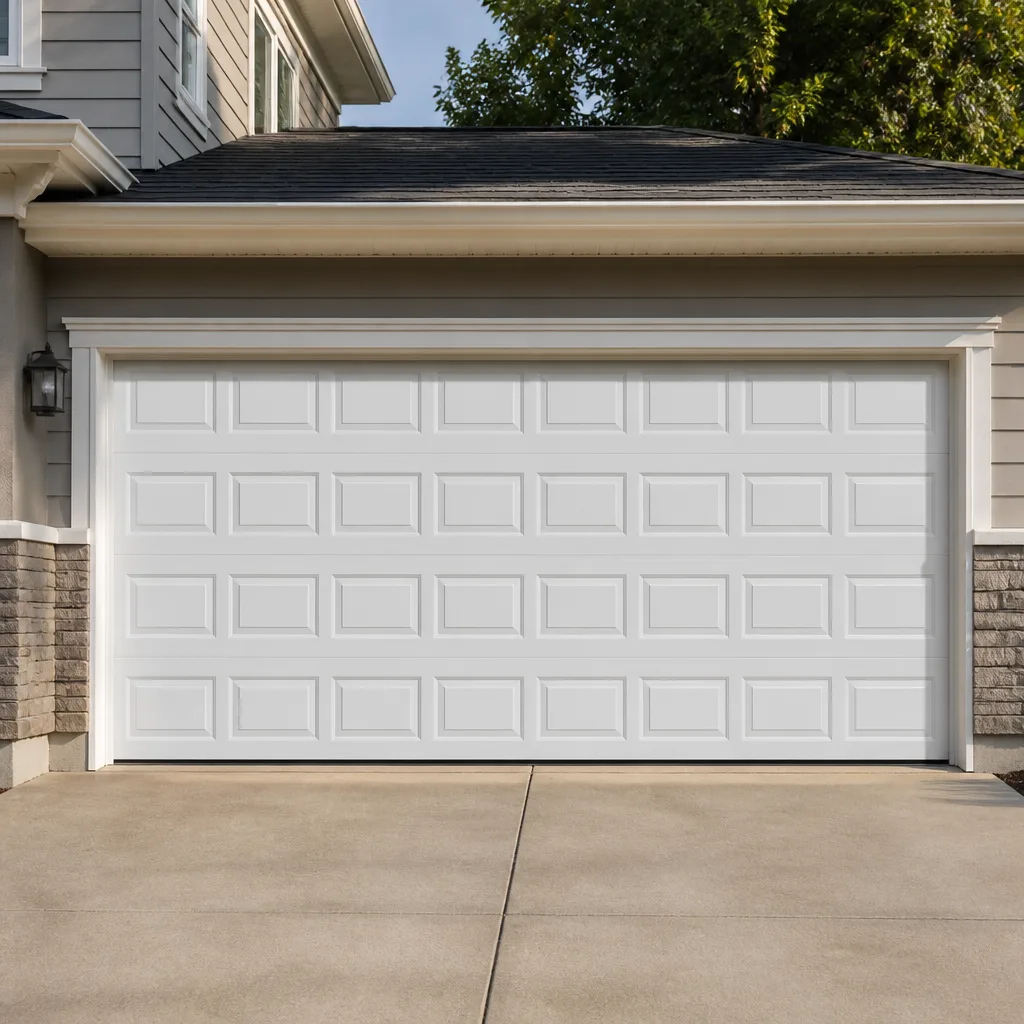 Raised-panel steel
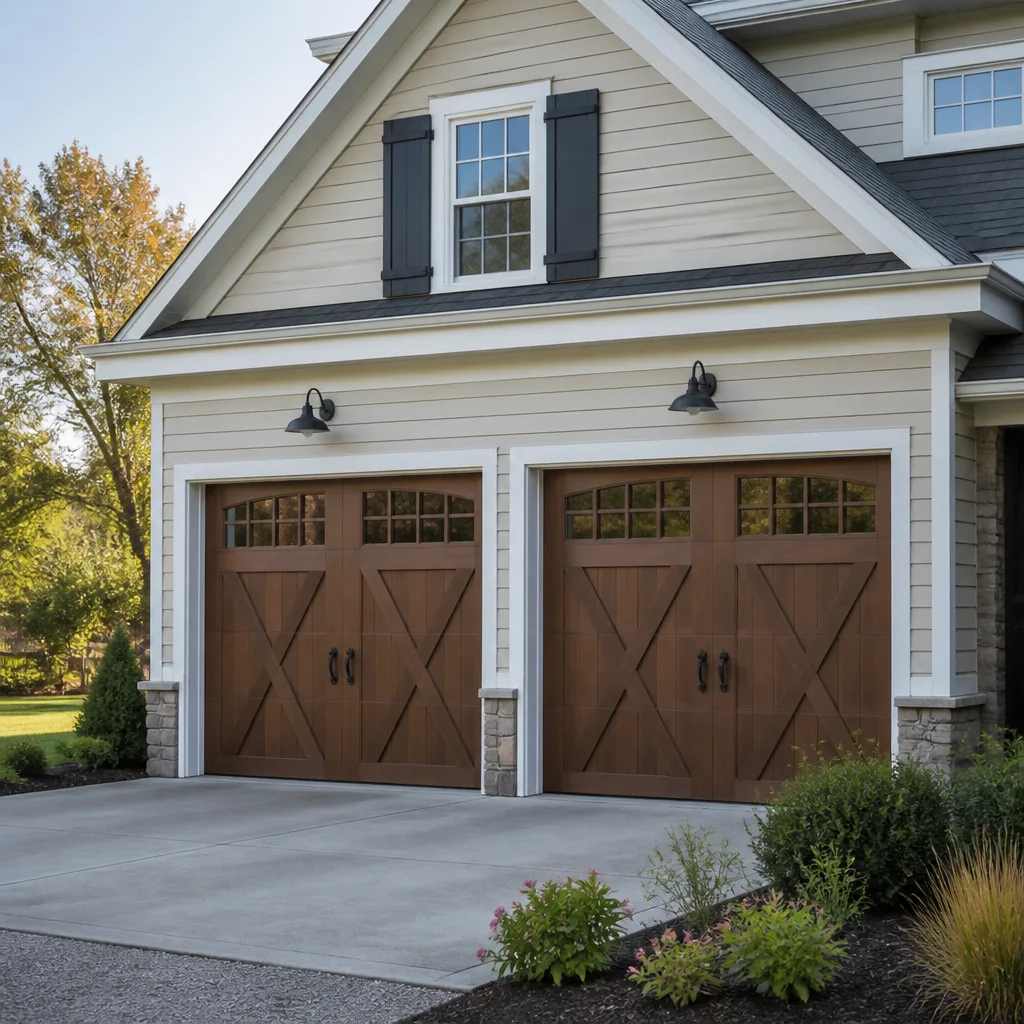 Carriage house
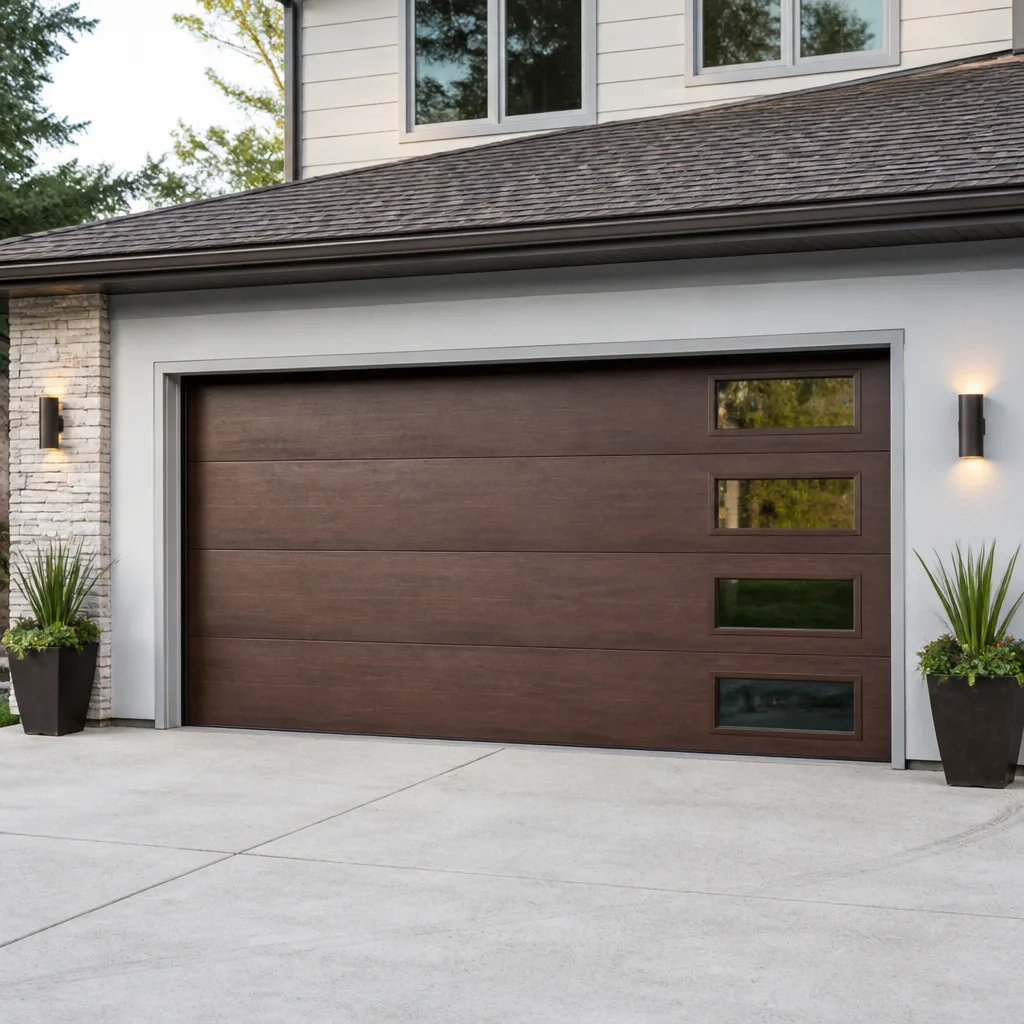 Modern flush
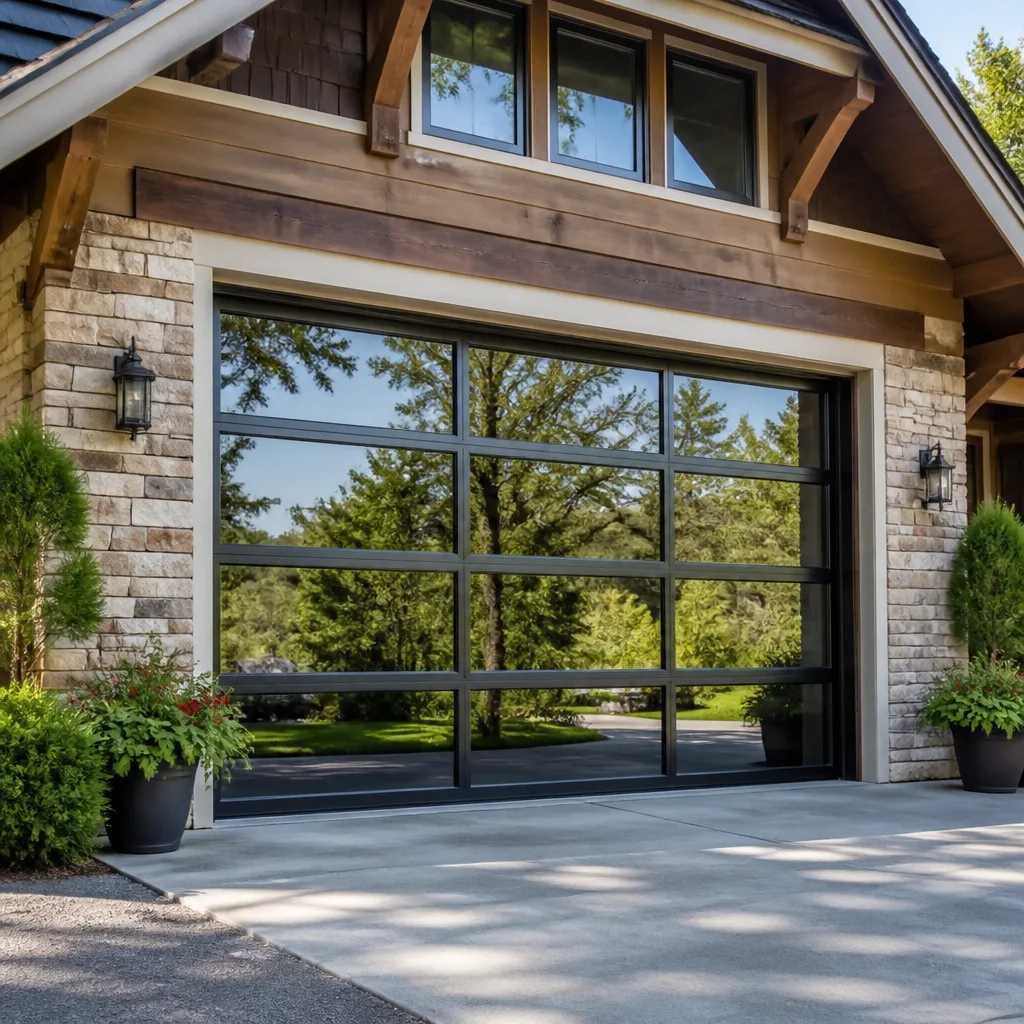 Full-view glass
 LiftMaster openers
 Chamberlain openers
Full 25-point door and opener safety check with every visit - springs, cables, rollers, tracks, and your LiftMaster or Chamberlain opener included
You get a price before we start. It does not change when the truck arrives.
Get your free estimateGarage Door Repair Troubleshooting: Common Problems and How to Fix Them
A garage door that reverses immediately is a different problem than one that reverses halfway down. The first suggests the safety sensors or the force setting; the second points to a broken spring, a bent track, or a failing logic board. Most troubleshooting guides treat them the same, which is why most DIY fixes fail, and why so many Coral Gables homeowners end up paying a diagnostic fee for something they could have narrowed down in ten minutes. This guide teaches you to read the symptom pattern, match it to the component, and arrive at the phone call already knowing what you’re dealing with. We’ve spent years repairing doors across Coral Gables, from the 1950s ranches near the Biltmore to the newer builds west of LeJeune, and the same handful of failure patterns account for about ninety percent of what we see in our Garage Door Repair services.
Quick Answer
Most garage door problems trace to one of five components: the springs, the safety sensors, the opener’s force or limit settings, the tracks, or the opener’s drive gear. Start by pulling the manual release cord and lifting the door by hand: if it’s heavy or unbalanced, the problem is mechanical (springs or tracks); if it moves easily, the problem is the opener. Never attempt to replace or adjust torsion springs yourself, a garage door spring under tension can cause serious injury, and that repair belongs to a trained professional.
Styles & brands we work with
Table of Contents
- 1. The Symptom-to-Component Matrix: Read the Door Before You Touch It
- 2. The Manual Disconnect Test: Opener Problem or Door Problem?
- 3. Belt-Drive, Chain-Drive, Screw-Drive: Why the Same Symptom Has Different Causes
- 4. Sensor Alignment vs. Obstruction vs. Failure: Three Conditions, Not One
- 5. Spring Problems: The Heavy Door Test and What It Tells You
- 6. Grinding, Scraping, and Squealing: Diagnosing by Sound
- 7. What to Tell the Technician So You’re Not Charged a Full Diagnostic Fee
- 8. Coral Gables Climate, Humidity, and Salt Air: What They Do to Garage Doors
The Symptom-to-Component Matrix: Read the Door Before You Touch It
Every garage door failure produces a signature. The trick is learning to match the signature to the part before you start adjusting things at random. Here’s the matrix we use on service calls across Coral Gables, and it works just as well for a property manager in a Gables condo building as it does for a homeowner off Old Cutler Road.
- Door won’t open, opener hums for 1 – 2 seconds, then stops: The opener motor is running, but the drive mechanism isn’t engaging. On a chain-drive opener, this is usually a stripped drive gear or a broken chain sprocket. On a belt-drive, it’s a broken belt or a failed belt pulley. Either way, the opener is the problem, not the door.
- Door opens a few inches, then reverses or stops: Two very different causes. If the door feels heavy when you pull the release cord, a spring has broken. If the door moves easily by hand, the opener’s force setting is too low or the travel limits are wrong.
- Door opens fully but won’t close (or reverses immediately): The sensor circuit. In humid Coral Gables air, corrosion on the sensor wiring terminals is nearly as common as misalignment, and it produces the same symptom.
- Door closes, then immediately reverses back up: The close-force setting is too sensitive, or something is binding the door at the bottom of its travel. Check for debris in the tracks, a warped bottom section, or weatherstripping that’s catching.
- Door opens partway, stops, and the opener light flashes: On LiftMaster and Chamberlain openers, flashing lights are a diagnostic code. Count the flashes and check the manual. On older Genie models, a single flash usually means a sensor issue.
- Door grinds or scrapes but still moves: Track misalignment, worn rollers, or a bent track section. This is mechanical, not electrical, and it will get worse if ignored.
- Door opens by itself or the opener runs when no one pressed the button: RF interference from a neighbor’s opener, a stuck wall button, or (rarely) a failing logic board. In dense Coral Gables neighborhoods with homes ten feet apart, a neighbor’s newer LiftMaster can occasionally trigger an older Craftsman unit on the same frequency.
Once you’ve matched the symptom to the likely component, you’re already ahead of most service calls we take. A homeowner who can say “the belt moves but the door doesn’t” has saved us both ten minutes and saved themselves money.
The Manual Disconnect Test: Opener Problem or Door Problem?
This single test splits every garage door problem into two categories, and it takes thirty seconds. Pull the red emergency release cord hanging from the opener rail. This disconnects the door from the opener carriage, and now you’re lifting the door by hand. What you feel tells you everything.
- The door is light and moves smoothly: The problem is in the opener. The springs are doing their job, the tracks are true, and the rollers are fine. You don’t need a door repair. You need an opener repair.
- The door is heavy, or it drops when you let go: A spring has broken, or the spring system has lost tension. This is a mechanical failure, dangerous to work around, and not something you should attempt to fix. Call a professional.
- The door binds, catches, or scrapes at a certain point: You have a track or roller problem. The opener may be working perfectly and simply refusing to drag the door through a tight spot.
- The door pulls to one side or feels uneven: The cables are out of sync or one cable has slipped. On a single-spring door this is common as the spring ages; on a two-spring door, one cable drum may be loose.
We use this test on every Coral Gables service call, before we check the opener, before we look at sensors, before anything else. It’s the difference between replacing a logic board and replacing a spring, and those are very different jobs with very different costs. When you call a repair company, tell them what you felt during the disconnect test. The good ones will appreciate it, and you’ll get a more accurate estimate over the phone. For How to Hire a Garage Door Contractor in Coral Gables: A Step-by-Step Guide, see our companion resource.
Belt-Drive, Chain-Drive, Screw-Drive: Why the Same Symptom Has Different Causes
Here’s something most troubleshooting guides skip entirely: the drive system changes the diagnosis. A grinding noise on a chain-drive opener means something different from a grinding noise on a screw-drive. Knowing what you have is the first step.
Chain-Drive Openers
These use a metal chain, like a bicycle chain but heavier. Loud by design, and they get louder with age. A chain that slaps or rattles usually needs tightening or the sprockets are worn. A chain that moves but the door doesn’t means the drive gear inside the opener housing has stripped, especially common on older Craftsman and Chamberlain units that have done fifteen or twenty years of daily cycles in Salt-South Florida humidity. On chain-drive systems, a stripped gear often starts with intermittent slipping, works sometimes, won’t lift the door other times, before it fails completely.
Belt-Drive Openers
Quiet and clean, the default choice for attached garages in Coral Gables where a bedroom sits above. Belt-drive problems are quieter, too. A worn belt stretches and becomes the “soft” failure, the door runs but labors. A belt with a broken tooth may run but produce a rhythmic thump. The good news is belts rarely snap outright. The bad news is stretched belts put extra strain on the motor and the logic board, so a belt that’s been loose for a year may have caused secondary damage.
Screw-Drive Openers
These use a threaded steel rod to move the carriage. Fewer moving parts, but when the threads wear or the carriage strips, the symptom is a harsh metal-on-metal grind that sounds worse than it is. Screw-drive units need lubrication more often than chain or belt systems, and in a humid climate like Miami-Dade, a dry screw-drive rod is the single most common cause of opener complaints we hear in Coral Gables. If your screw-drive opener is howling, try lubricating the rod with a garage door specific lubricant before assuming the unit is dead.
This matters because a single-brand dealer might tell you to replace the entire opener when a chain-drive gear is a forty-minute repair. Our service model at Coral Gables Garage Door Service home is built on repairing what’s actually broken, and we carry parts, belts, gears, carriage assemblies, logic boards for LiftMaster, Chamberlain, Genie, Craftsman, and the other brands we service. If you’re not sure which drive system you have, look up: the rail is a metal chain, a rubber belt, or a threaded rod. Now you know.
Sensor Alignment vs. Obstruction vs. Failure: Three Conditions, Not One
Every troubleshooting guide on the internet says “check the sensors,” but almost none of them explain that there are three distinct sensor problems, each with a different fix and a different urgency. Our Garage Door Warning Signs: A Coral Gables Homeowner’s Reference Guide covers additional red flags to watch for. Here’s the breakdown we use when we’re walking a Coral Gables homeowner through a phone diagnosis.
Condition 1: Sensor Misalignment
The two sensors, one on each side of the door near the floor, shoot an infrared beam at each other. If they’re knocked out of alignment by a passing bicycle, a trash can, or a teenager who wasn’t looking, the beam misses and the opener refuses to close. The fix is simple: loosen the wing nut on the sensor bracket, adjust until the LED on each sensor is solid (not blinking), and retighten. In Coral Gables garages, which do double duty as storage for paddleboards, bicycles, and hurricane supplies, misalignment happens constantly.
Condition 2: Sensor Obstruction
The beam is fine, but something is blocking it. Dirt, a leaf, a paint can, a box placed in the beam’s path. In humid Coral Gables air, even a thin film of condensation on a cool morning can scatter the beam enough to cause intermittent reversing. Clean the sensor lenses with a dry cloth, clear the path, and try again. If the door closes sometimes and refuses other times, especially early in the morning, you’re likely dealing with condensation or dew.
Condition 3: Sensor Failure
The sensors are aligned, the lenses are clean, and the LEDs are dead. That’s a failed sensor, usually from water intrusion, a short in the low-voltage wiring, or simple age. A failed sensor has to be replaced, but here’s the part most guides miss: you don’t need to replace both sensors, and you don’t need a new opener. A competent repair company can replace one sensor or replace the wiring and have you back to normal in under an hour.
One more thing: if the sensors are dead and the door still opens and closes in manual mode (pull the cord), the opener’s logic board is fine. You’re dealing with a sensor-only problem. That’s a small repair, not an opener replacement.
Spring Problems: The Heavy Door Test and What It Tells You
Garage door springs do the real work. The opener just guides the door; the springs lift the weight. When a spring fails, the door becomes a dead load and the opener strains, burns out, or refuses to engage. In Coral Gables, where garage doors cycle multiple times a day in salt-humidity that accelerates metal fatigue, a spring that’s past its seventh or eighth year is living on borrowed time.
How to Tell a Spring Has Broken
You’ll often hear it first, a loud bang from the garage that sounds like a car backfiring. Then the door won’t open, or opens a few inches and stops. Look above the door: on a torsion spring system (the spring mounted on a metal shaft above the closed door), you’ll see a visible gap in the coil. That’s a clean break. On an extension spring system (the springs running parallel to the horizontal tracks), one side will be loose or visibly separated.
The Heavy Door Test Confirms It
Pull the release cord and try to lift the door. A healthy door with working springs feels heavy but manageable, maybe thirty to forty pounds of effective weight. A door with a broken spring feels like two hundred pounds of dead steel, and it will stay wherever you put it, or slam down. If you can barely lift it, the spring is gone, and this is not a DIY job.
Safety warning, plain and direct: torsion springs under tension store an enormous amount of energy. A spring that lets go while you’re working on it can break bones, remove fingers, or worse. This is the one component where professional help is never optional. We won’t give step-by-step spring replacement instructions, and no responsible technician will either. What we will tell you is this: when you call, say “the spring broke” and describe which type you see above the door. That’s enough for an accurate estimate over the phone.
Grinding, Scraping, and Squealing: Diagnosing by Sound
Your garage door talks. Most homeowners just don’t know the language. Here’s a quick translation of the sounds we hear most often on Coral Gables service calls.
- High-pitched squeal that gets worse every month: Dry rollers or dry hinges, or a dry screw-drive rod. Metal rollers in metal tracks need lubrication, and in Coral Gables humidity, the factory grease washes out faster than in drier climates. A dry screw-drive rod on a Genie or older Craftsman unit makes a sound that could wake the neighbors.
- Deep grinding from the opener housing, door won’t move: The drive gear has stripped. Common on older chain-drive Chamberlain and LiftMaster units. The motor runs, the gear teeth are gone, the door stays put.
- Metal-on-metal scraping from the door itself: A track is out of alignment or a roller has worn through its bearing. If the scraping is worse on one side, that side’s track or roller is the culprit.
- Rattling that stops when you press the button: Loose chain, loose bolts on the opener rail, or worn sprockets. Tightening the chain and the mounting bolts solves most rattle complaints.
- Thumping or banging as the door travels: A roller is binding, a section hinge is loose, or the door is out of balance and lifting unevenly. Balanced doors don’t thump.
Sound is diagnostic, but it’s also a warning sign. A door that’s making new noises isn’t going to get quieter on its own. The noise is the most reliable early indicator we have, and it’s a big part of why our repair-first approach across Garage Door Repair in Miami starts with listening before anything gets disassembled.
What to Tell the Technician So You’re Not Charged a Full Diagnostic Fee
When you call, the first question you’ll get is “what’s the door doing?” Most people say “it’s not working.” Here’s what to say instead, because it changes everything about the estimate, the parts on the truck, and the size of the bill.
- The exact symptom: “It opens halfway and stops” is not the same as “it starts to close and reverses.” Describe it precisely.
- The manual disconnect result: “I pulled the cord and the door feels heavy” versus “I pulled the cord and the door moves easily.” This is the single most useful piece of information you can provide.
- The drive system: “It’s a belt-drive LiftMaster” or “it’s an old screw-drive Genie.” The technician now knows what parts to bring.
- The sound: “It makes a grinding noise from the motor” versus “it’s quiet but just won’t move.” Sound narrows the diagnosis faster than anything except the manual test.
- The age, if you know it: “The opener came with the house in 2011” tells us whether a repair is financially sensible or whether replacement is the honest recommendation.
When a homeowner gives us that information up front, our technician arrives with the right parts, confirms the diagnosis in minutes, and completes the repair in one visit. When a homeowner says “it’s broken, can you come look,” the same repair can take two visits and cost more. The information asymmetry costs real money. You’ve just finished reading a guide that eliminated it. For more guides & resources, explore our blog.
Coral Gables Climate, Humidity, and Salt Air: What They Do to Garage Doors
Garage doors fail differently in Coral Gables than they do in, say, Phoenix or Denver. Here’s the local context that generic advice never includes.
Humidity corrodes low-voltage wiring. The sensor wires on most openers are thin, often exposed to the air near the floor, and in a Coral Gables garage they live in 70 – 90 percent humidity year-round. Corrosion at the terminals produces intermittent sensor failure that comes and goes with the weather, and it’s the most common phantom problem we diagnose. In our experience, a Coral Gables sensor that works on a dry Tuesday and fails on a humid Saturday morning is a wiring problem, not a sensor failure.
Salt air is hard on springs and hardware. If you live east of US-1, closer to Biscayne Bay, the salt content in the air accelerates rust on torsion springs, cables, and brackets. A spring that might last ten years in Pinecrest can fail in seven in the Gables. The powder-coated springs hold up better, which is one of the reasons we specify them on replacements in coastal-adjacent neighborhoods.
Hurricane season demands a healthy door. Miami-Dade building code requires garage doors to meet wind-load standards, and a door with worn hardware is more likely to fail under storm pressure. If your door is dented, rusted, or held together with questionable repairs, address it before August. A door that doesn’t seal properly is a weak point when the wind starts pushing.
Common Mistakes to Avoid
- Adjusting the travel limits before the springs. When a spring breaks, the door gets heavy and the opener stops mid-travel. Homeowners adjust the force and limit settings trying to compensate, and now you have a broken spring and an opener that’s been pushed out of calibration. Fix the mechanical problem first.
- Lubricating the tracks. Garage door tracks should stay dry. Lubricant on the tracks attracts dirt and causes the rollers to bind, making the problem worse. Lubricate the rollers, hinges, and springs, not the track itself.
- Replacing both sensors when one is dead. The sensors are identical but independently replaceable. A competent repair company will replace the failed unit and test the circuit, saving you the cost of an unnecessary pair.
- Ignoring a gradual slowdown. A door that’s been getting slower every month is telling you something: the spring is weakening, the opener is wearing out, or the rollers are shot. By the time it stops working entirely, the bill is usually bigger than it would have been at the first sign of trouble.
- Bracing a door open with a broom handle when the spring breaks. If you need the door open and the spring is broken, the door’s full weight is now unsupported. A broom handle can snap and the door comes down hard. Call for repair instead; a broken spring is a same-visit fix for the right company.
- Assuming a flashing light means “replace the opener.” Flashing diagnostic codes on LiftMaster, Chamberlain, Genie, and Craftsman openers are specific. Your manual has the chart. A flashing light might mean “sensor alignment issue” or “travel limit fault,” not “buy a new opener.”
- Replacing a door when the track is the problem. A bent track or a misaligned section can make a perfectly good door operate badly. Some single-brand installation companies will happily sell you a new door rather than bend a track back. Get a second opinion when a door still has good panels.
See the difference
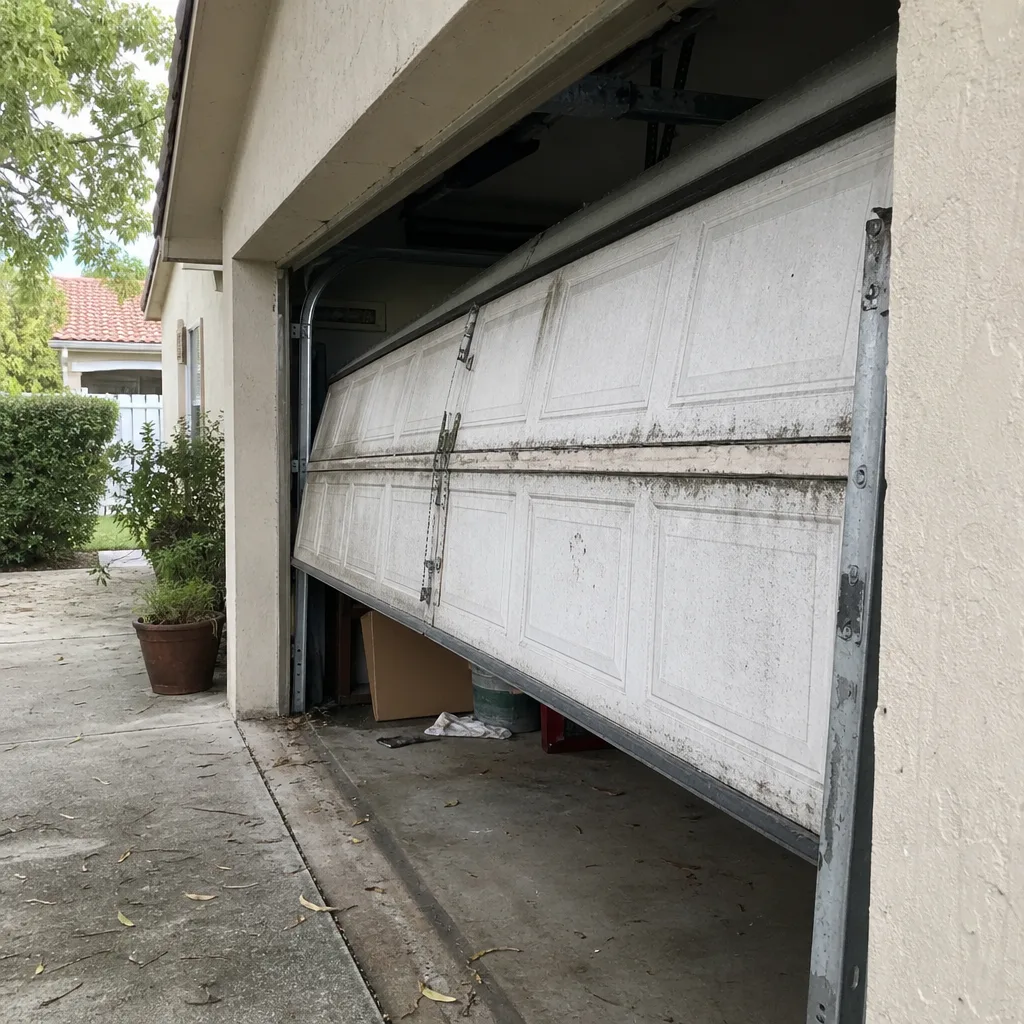 Before
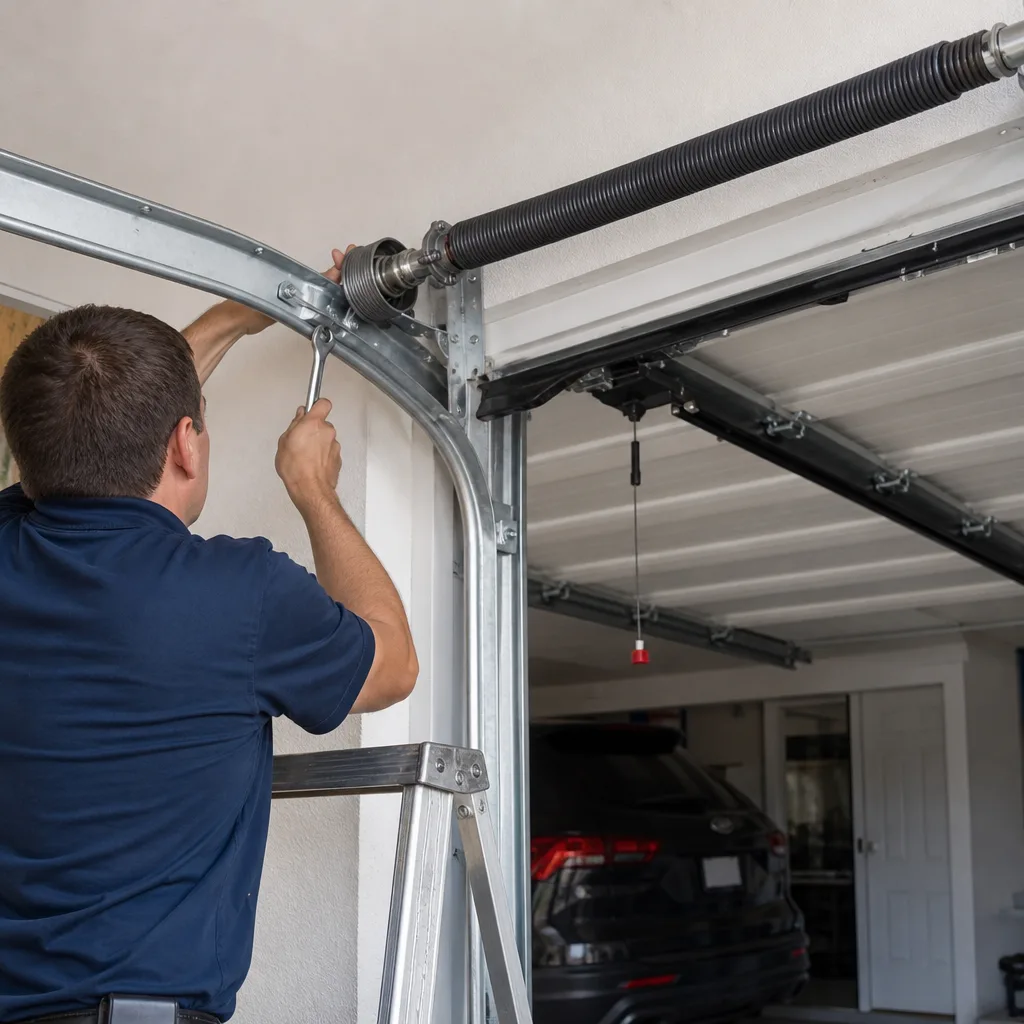 After
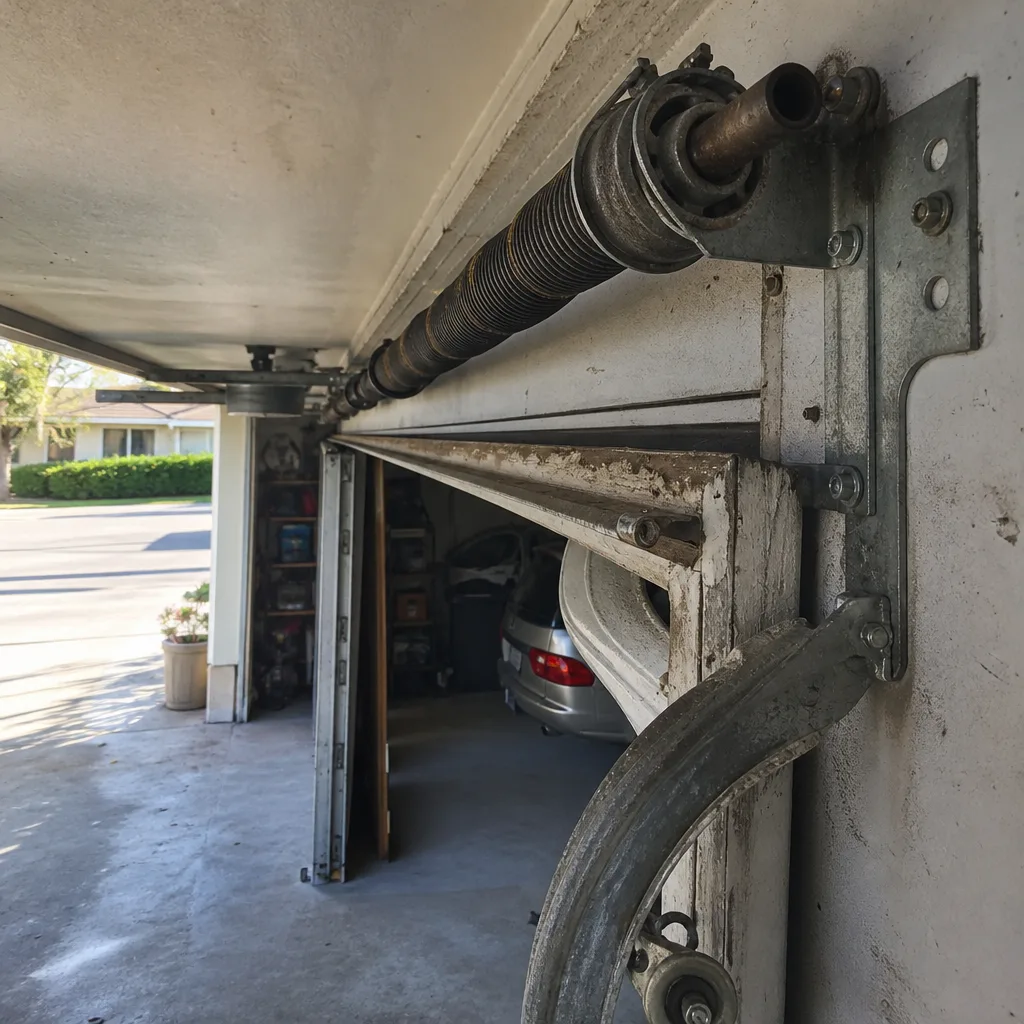 Before
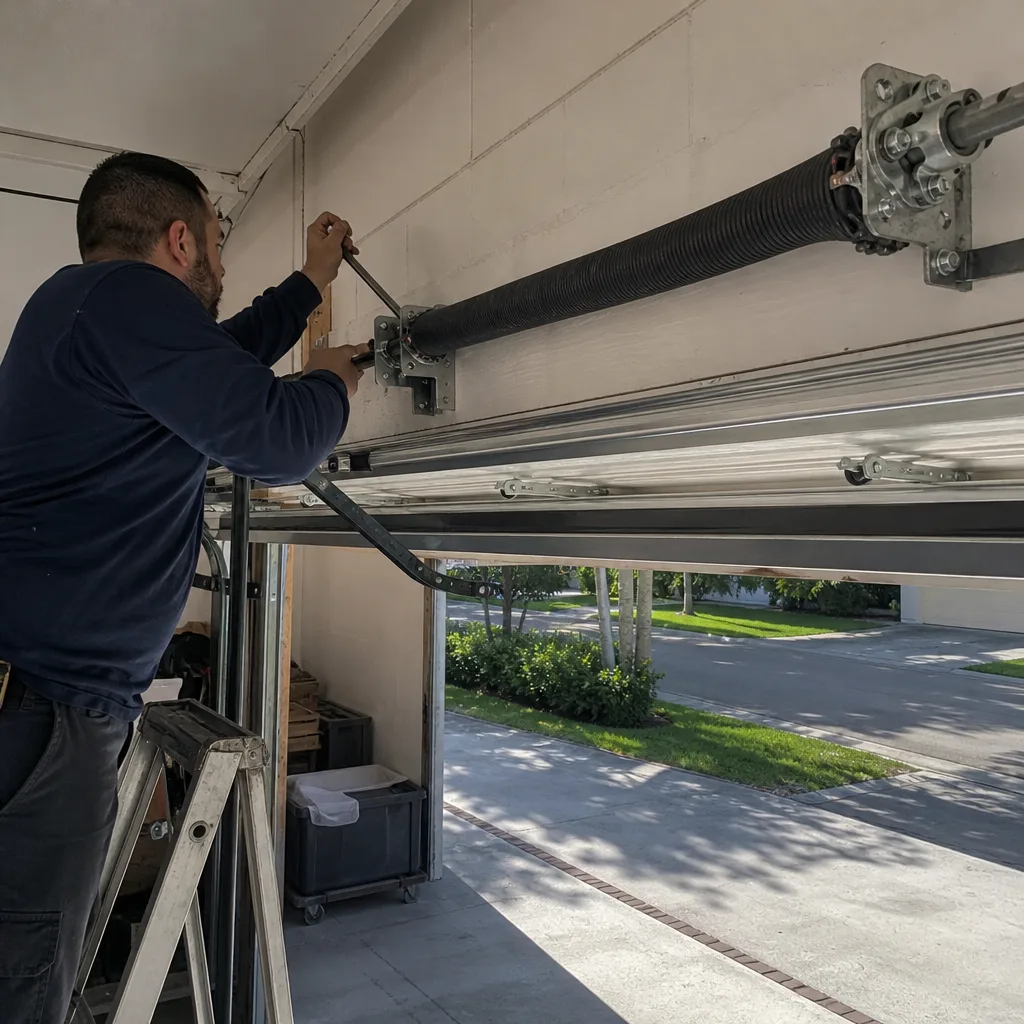 After
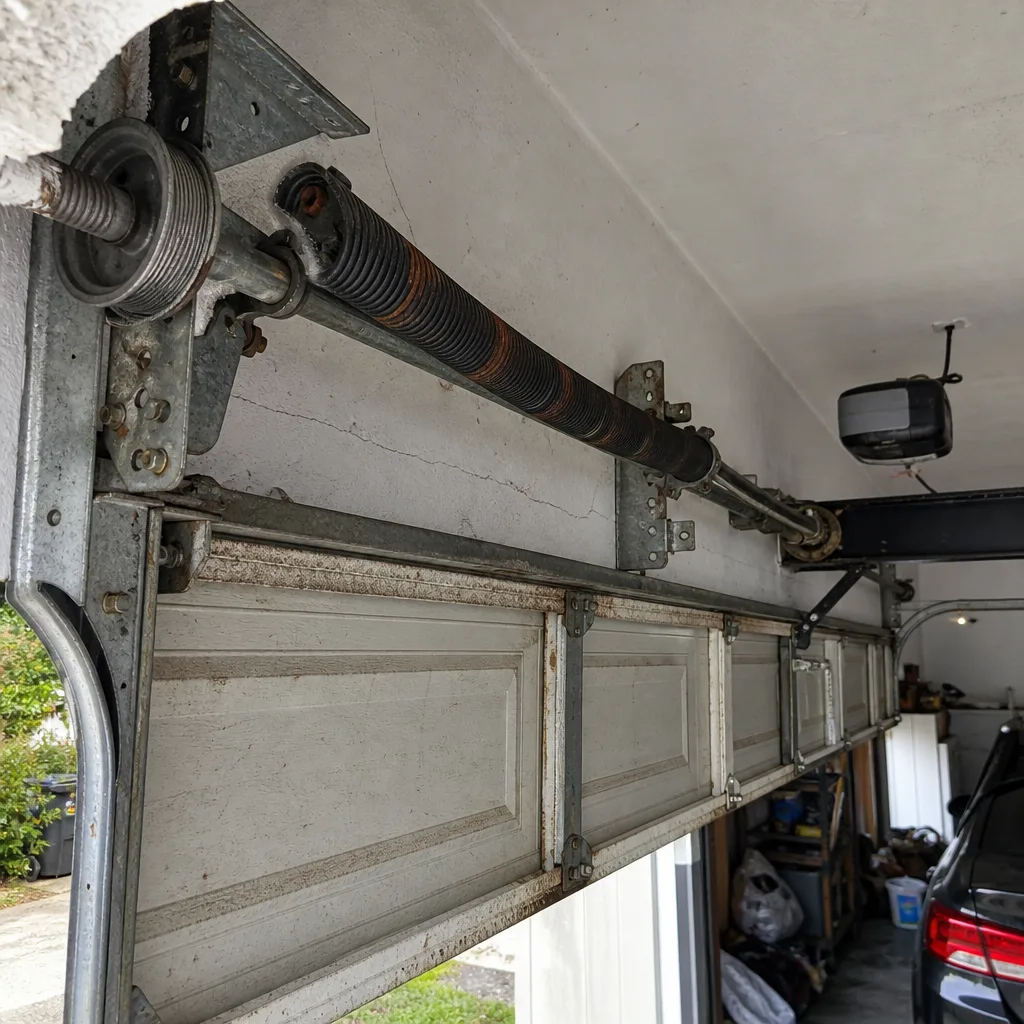 Before
 After
When to Call a Professional
You’re now equipped to diagnose most garage door problems accurately, but diagnosis and repair are different skills. Call a professional when you’re dealing with a broken or visibly rusted torsion spring, when the door is off its track, when a cable has snapped or come loose, or when the opener’s logic board is showing failure symptoms you can’t resolve with a reset. The spring and cable systems are under dangerous tension, and the money you save by not attempting that repair yourself is measured in fingers. Coral Gables Garage Door Service offers free estimates in Coral Gables, and our technicians arrive with parts for all eight major brands on the truck. Call (855) 752-9022 to describe your symptom and get a straight answer.
Frequently Asked Questions
The most common garage door problems in Coral Gables are broken torsion springs, misaligned or corroded safety sensors, stripped drive gears on older chain-drive openers, and track misalignment from years of humidity-related hardware wear. In our experience, humidity-related sensor wiring corrosion is disproportionately common in Coral Gables compared to inland areas, simply because the air is saltier and wetter.
Garage door repair in Coral Gables typically ranges from $150 to $450 for most common repairs, depending on the component. Sensor replacement runs $120 – $180, a new drive gear $180 – $250, a replacement circuit board $200 – $350, and a single torsion spring replacement runs $250 – $400 installed. Full spring and cable replacements run higher. For an exact quote on your specific symptom, call (855) 752-9022, and our team will price it over the phone before anyone comes out.
A garage door that opens but won’t close is almost always a sensor problem: the beam is misaligned, blocked, or the sensor or its wiring has failed. Check that both sensor LEDs are solid, clear any obstructions, and try again. If the sensors are fine and the door still refuses to close, the close-force setting may be too low or the logic board is failing. Call a professional for a precise diagnosis.
A garage door that opens by itself is usually triggered by RF interference from a neighbor’s opener on the same frequency, a stuck wall button, or a failing logic board. In dense Coral Gables neighborhoods, homes are close enough that an older Craftsman unit can be triggered by a newer LiftMaster on an adjacent lot. Reprogramming the opener’s frequency or replacing a sticky wall button usually solves it.
A garage door that closes halfway and then reverses has a mechanical bind: the door is hitting resistance mid-travel, and the opener’s force setting is correctly refusing to push through it. Check for debris in the tracks, a bowed section, or a roller that’s coming off the track. If the door reverses at the same spot every time, the track has a tight spot at that exact point.
After a Coral Gables power outage, most openers need their travel limits re-learned. Unplug the opener for 30 seconds, plug it back in, and press and hold the wall button’s learn or adjustment button until the door runs a full open-close cycle. If the door still won’t operate correctly, the logic board may have been damaged by the power surge, common during hurricane-season outages, and a professional should inspect it.
The Bottom Line
A garage door problem is rarely mysterious once you know how to listen. The manual disconnect test tells you whether you’re dealing with a mechanical door problem or an opener problem. The symptom matrix tells you which component has likely failed. The drive system tells you which version of the failure you have. And telling the technician what you’ve learned saves you the diagnostic fee and gets the repair done in one visit. Coral Gables Garage Door Service services all eight major garage door and opener brands, works across Garage Door Opener Repair in Miami and Garage Door Installation in Miami, and we’ll diagnose from your description before we ever set the appointment. Call (855) 752-9022 and tell us what your door is doing. We’ll tell you what it needs.
Written by the team at Coral Gables Garage Door Service, serving Coral Gables since 2014.